

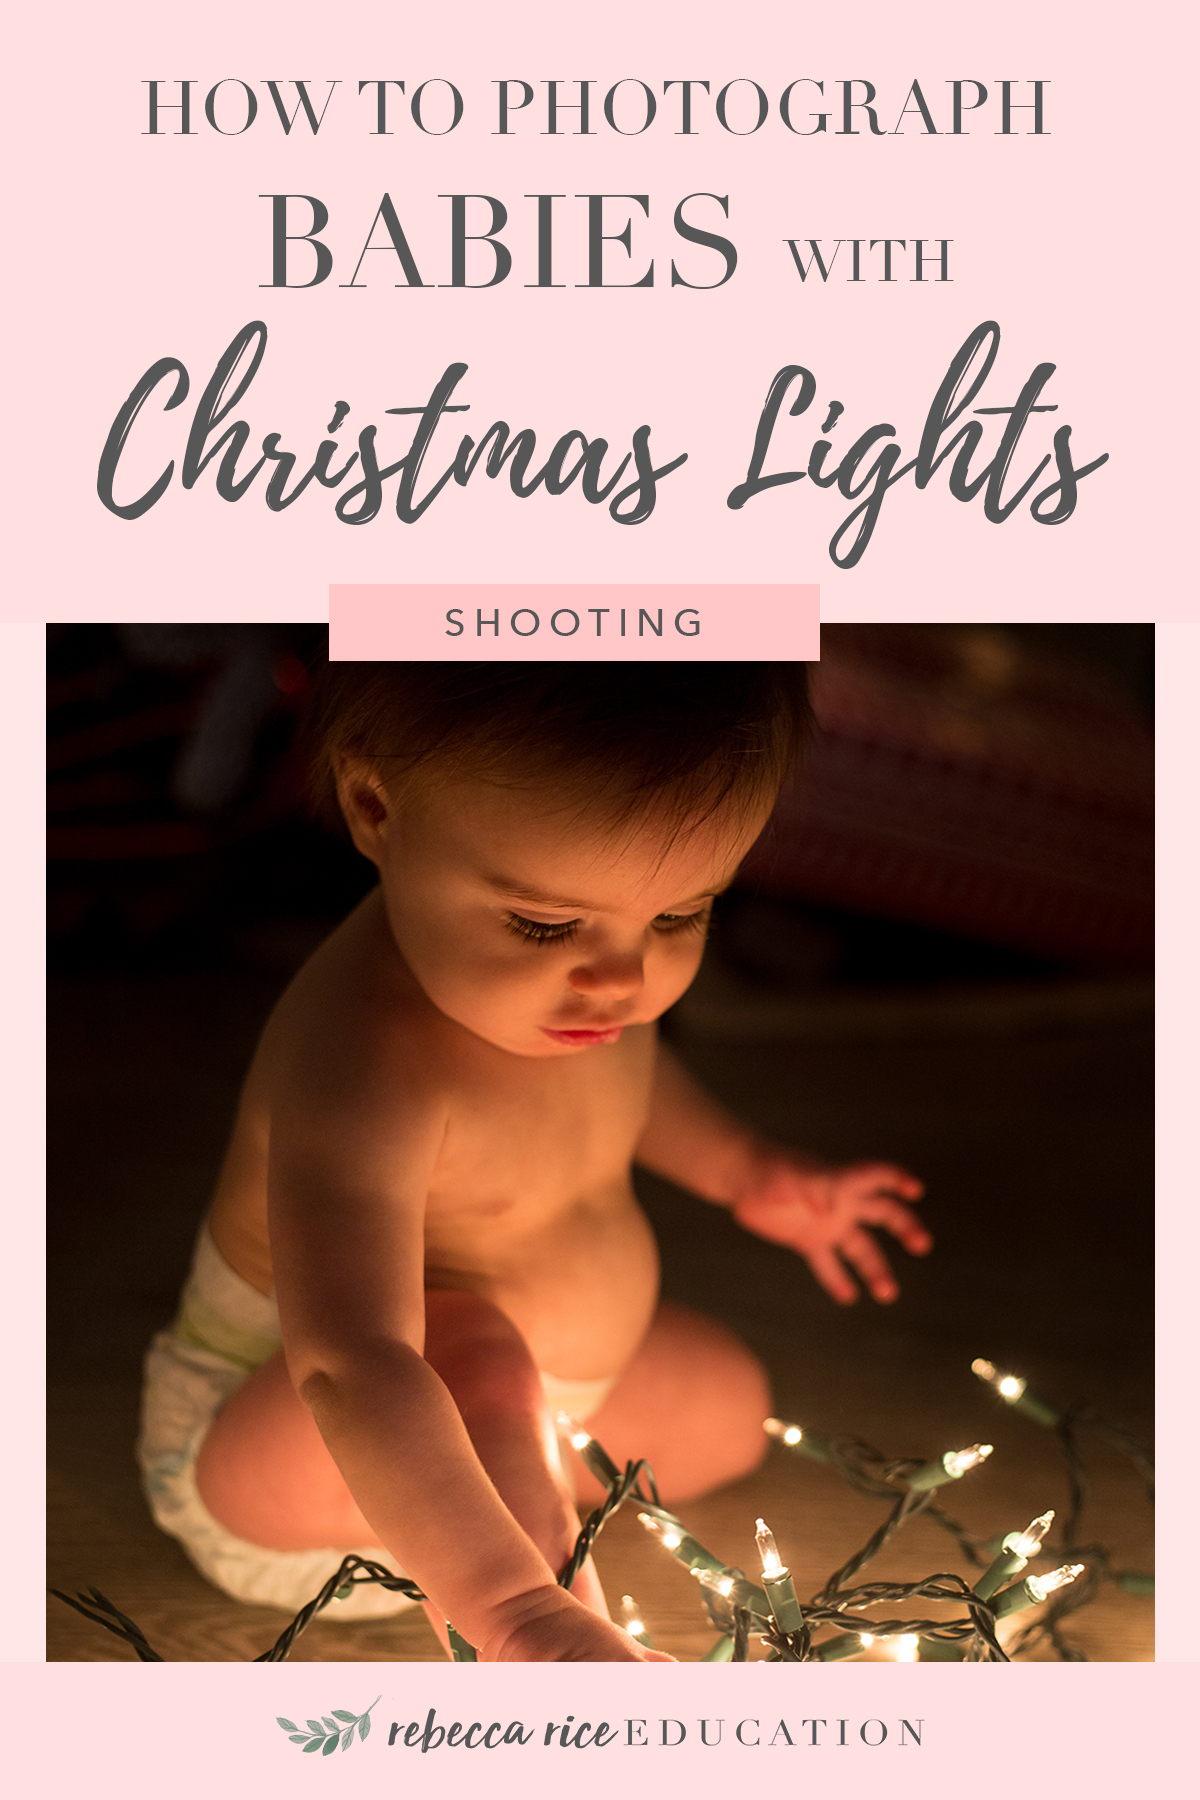
‘Tis the season, and pictures of babies with Christmas lights are all the rage!!
I mean, of course they are. They're just SO. DARN. CUTE!! A squishy baby wrapped in the beautiful Christmas lights, it's hard NOT to love it!
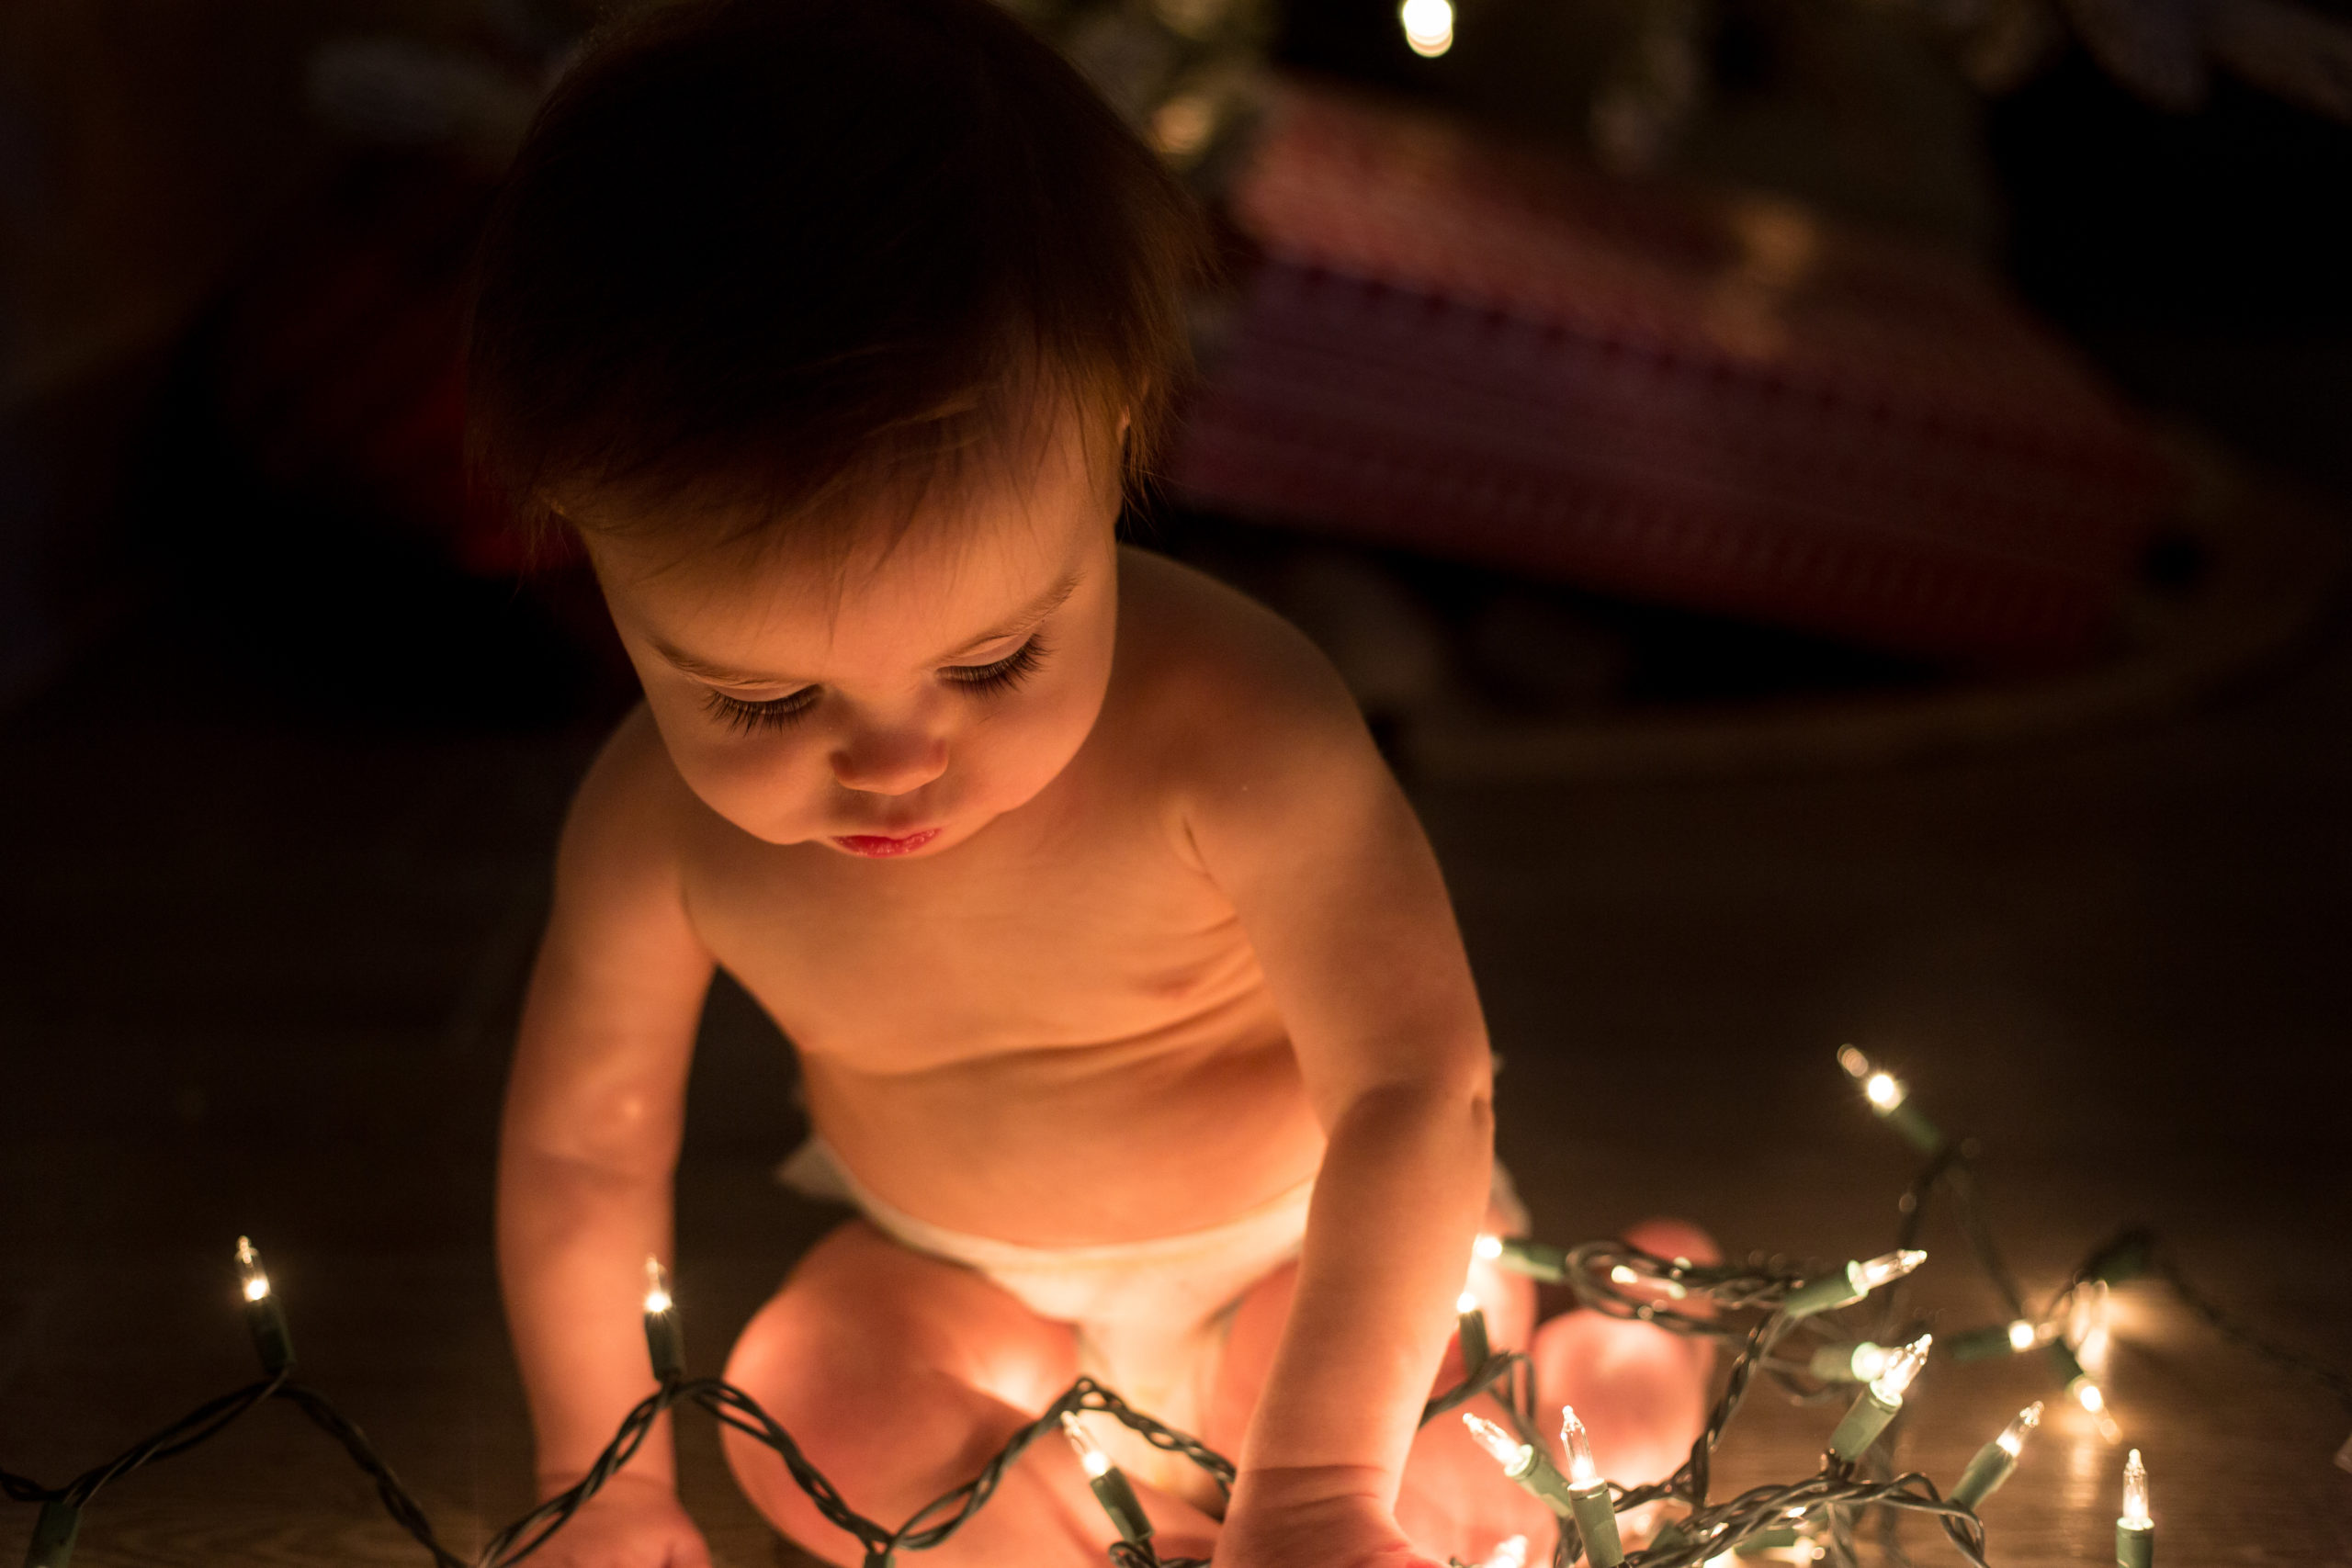
So everyone wants to get this shot (whether with their babies or their big kids), but the biggest question I've gotten lately is how to actually get the shot. I decided to take get some shots of my own little guy so I could share the secrets to nailing that classic baby with Christmas lights shot!
Keep reading…I'm about to share the exact settings I used to capture my own baby with Christmas lights, as well as some easy tips to make your life easier when you're editing!
Before you start, it's important to make sure your little one will be safe. Go ahead and grab a strand of small white Christmas lights.
**Be sure to avoid using the larger lights because they can get really hot really fast.
I'm sure it could go without being said, but just to be safe, never leave your baby unattended with the strand of lights.
Setting the Scene
Pick a place that's free of clutter and is near an outlet. Turn off the lights in the room and plug your Christmas lights in. These shots look best when the lights are bunched up, so don't worry about un-tangling them! If you want some beautiful bokeh lights in the background, set up so your child's back will be to the Christmas tree.
Choosing a Lens
I decided to use my 50mm f/1.8 for these. That lens allows me to be pretty close to my little guy without sacrificing my low f-stop. I don't have a 35mm lens, but if you do this would also be a great lens to use because you can get even closer. If you're using a kit lens, you're going to have a harder time because most only go down to f/4.0 so it will be pretty dark and won't have that beautiful bokeh. I highly suggest using a different lens.
Getting Your Camera Ready
Put your camera in Manual Mode and make sure your flash is off (if you have a flash built-in to your camera). Go ahead and set your aperture to about f/2.2-2.5. This will give you a nice, creamy background while letting as much light in as possible because this will naturally be a darker shot. If your lens doesn't go that low, set it as low as you can. Set your shutter speed to 1/100. Feel free to raise it a bit if your child is more squirmy. Put your ISO around 1200. There will be some grain in the shadows, but that's ok.
I set my white balance using Kelvin. Usually I use an ExpoDisc, but it was difficult to get the warmth I was wanting. To set it in Kelvin, I switched my viewfinder to Live mode (so instead of looking through the eye hole it shows up on the screen). Then I adjusted the white balance in Kelvin until I got my desired warmth. I go to Live mode when setting Kelvin because it allows me to see the adjustments I make to the white balance in real-time, that way I don't have to take a tester shot just to see how the white balance is. I set mine at 3500. Yours may vary a little depending on your exact lighting.
MY EXACT SETTINGS:
– Aperture: f/2.5
– Shutter Speed: 1/100
– ISO: 1200
– White Balance: Kelvin 3500
Adding In Your Little One
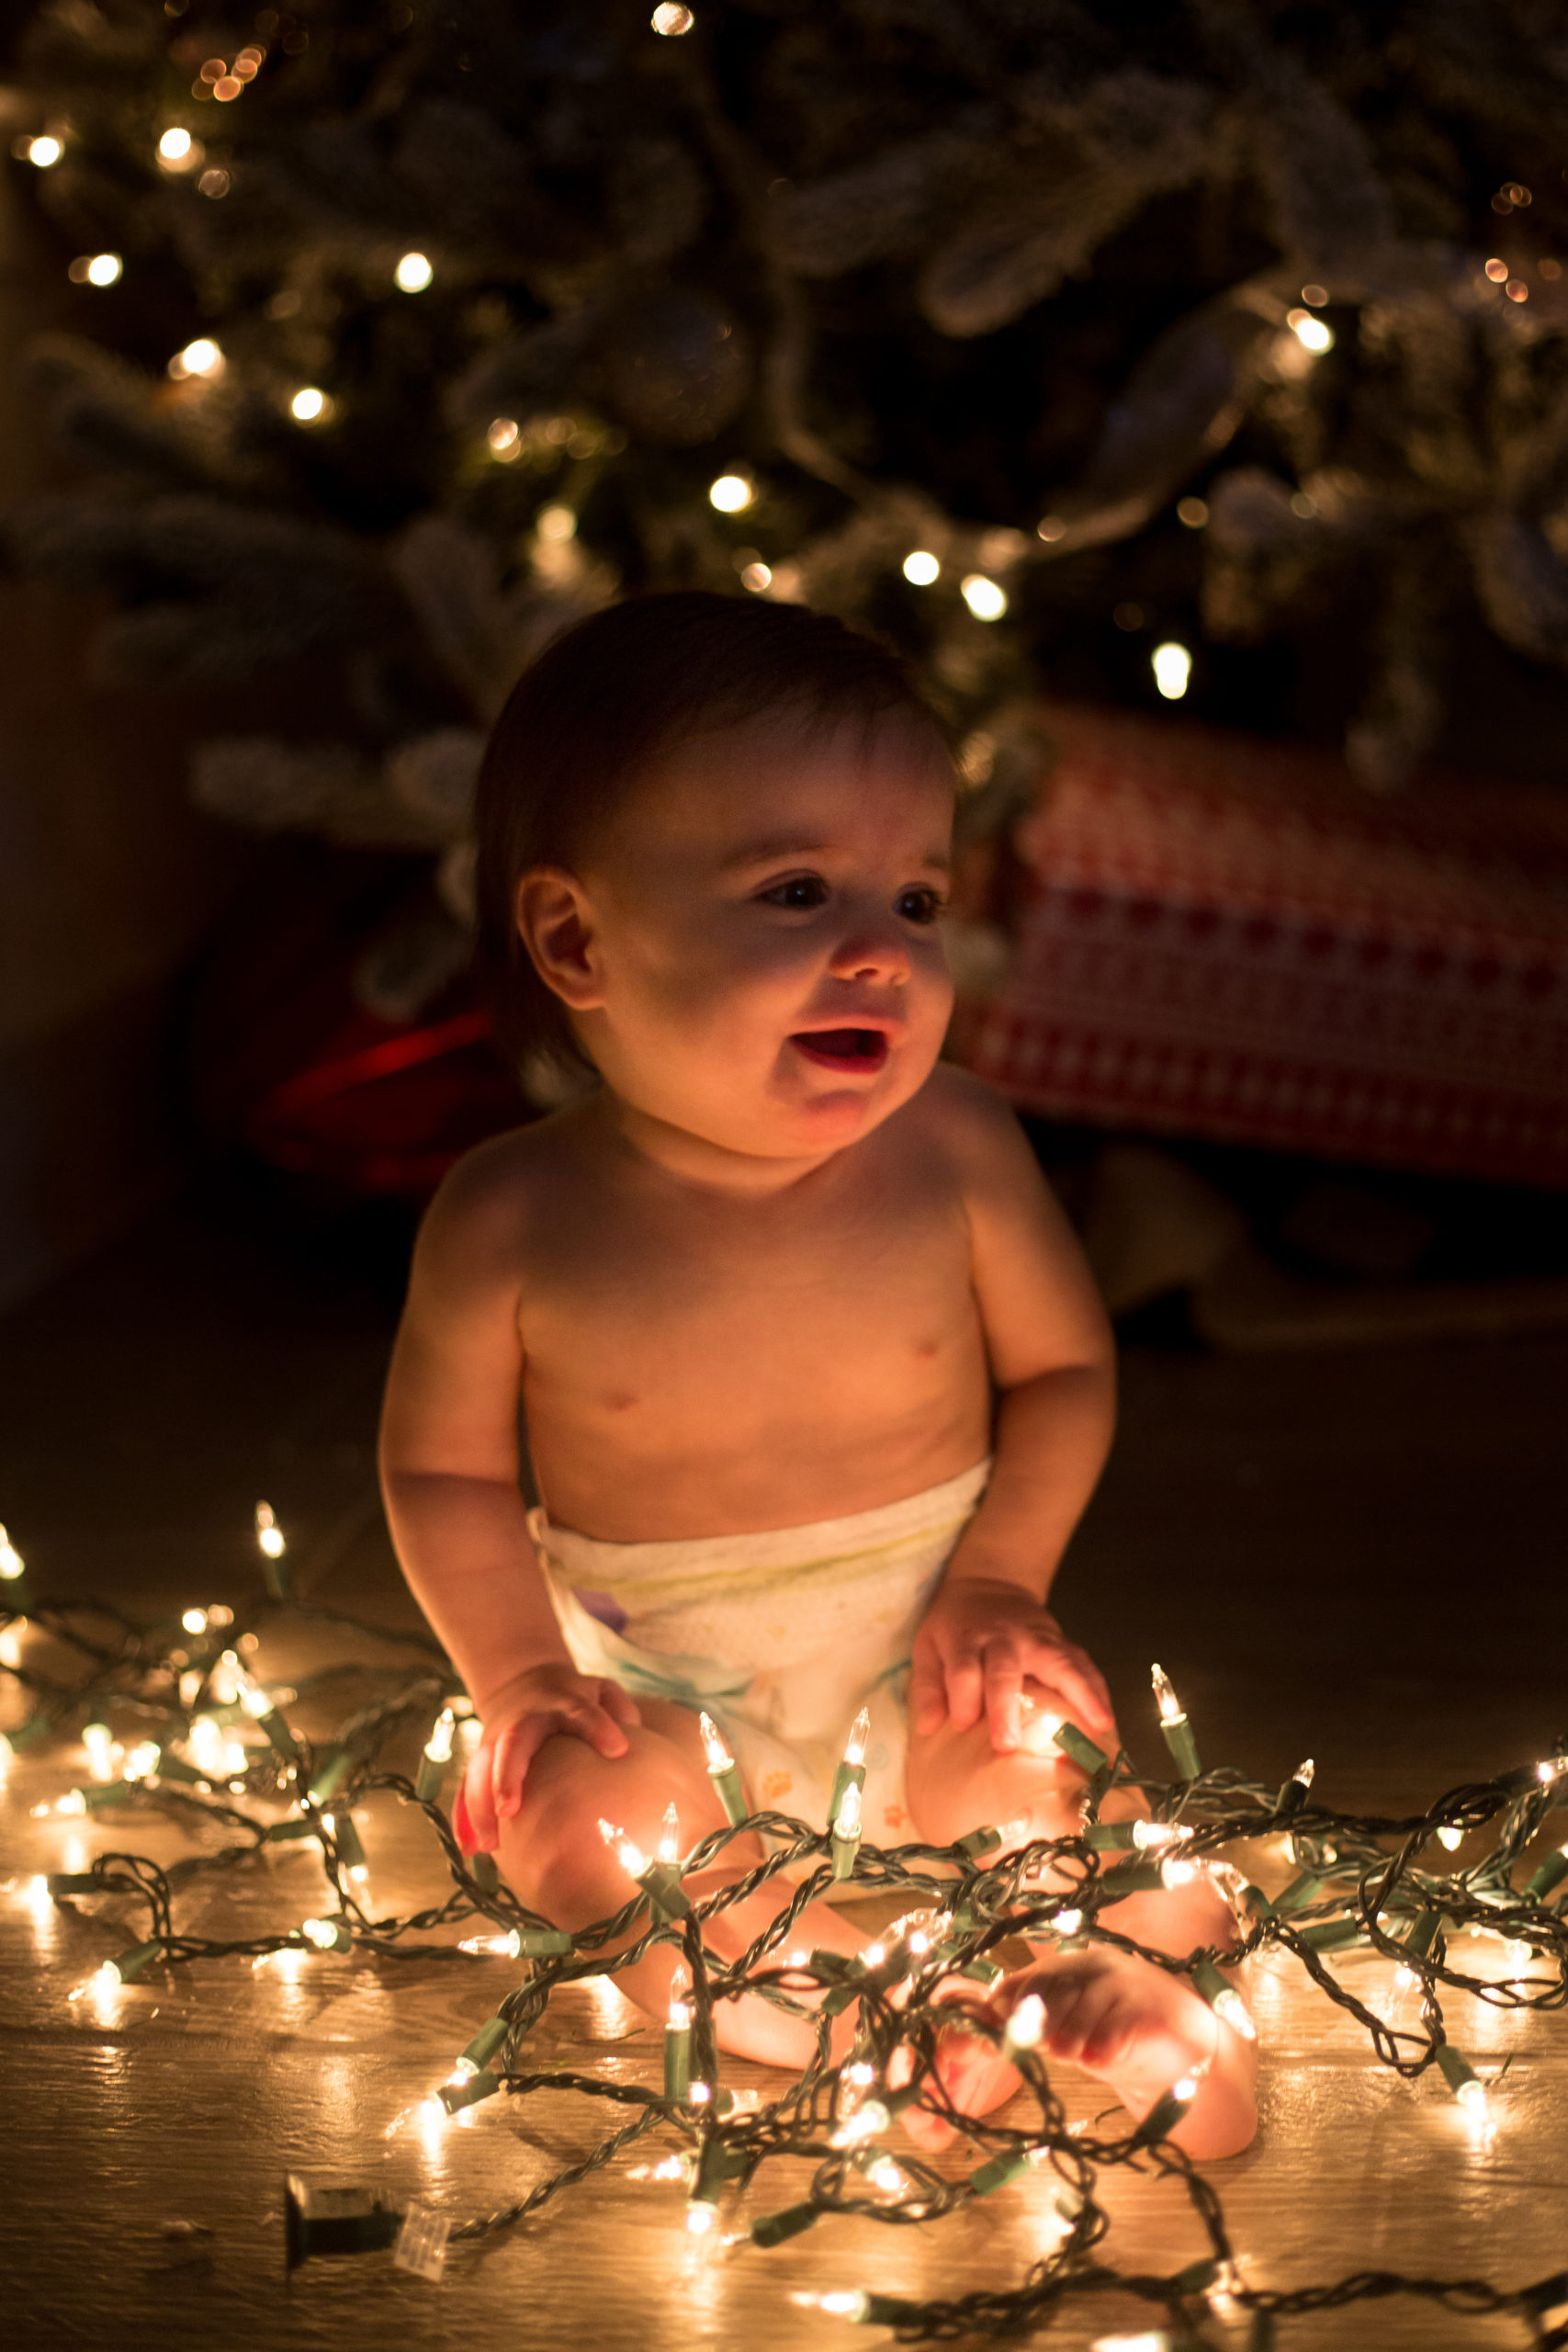
Set the strand of lights out in a pile, and sit your little one right behind them. You don't have to wrap the baby in the Christmas lights…they'll likely do it themselves! Make sure you're a couple of feet away from anything behind them. If you're using your Christmas tree in the background, make sure to sit your baby a couple of feet in front of the tree so there is space between them and the tree. This will give you that beautiful blurry background.
My guy wasn't a fan at first, and was actually scared of the lights when I put them in his lap. So we had to ease into it before I could start taking photos. We made it a fun game, and I got my 2.5 year old involved, too!
(Adorable Story Time: As soon as Carson started crying, Maddie went over to him and pat his back with her little hand and said, “It's ok, buddy. Don't cry, it's fun! Just look at Mommy!” ??)
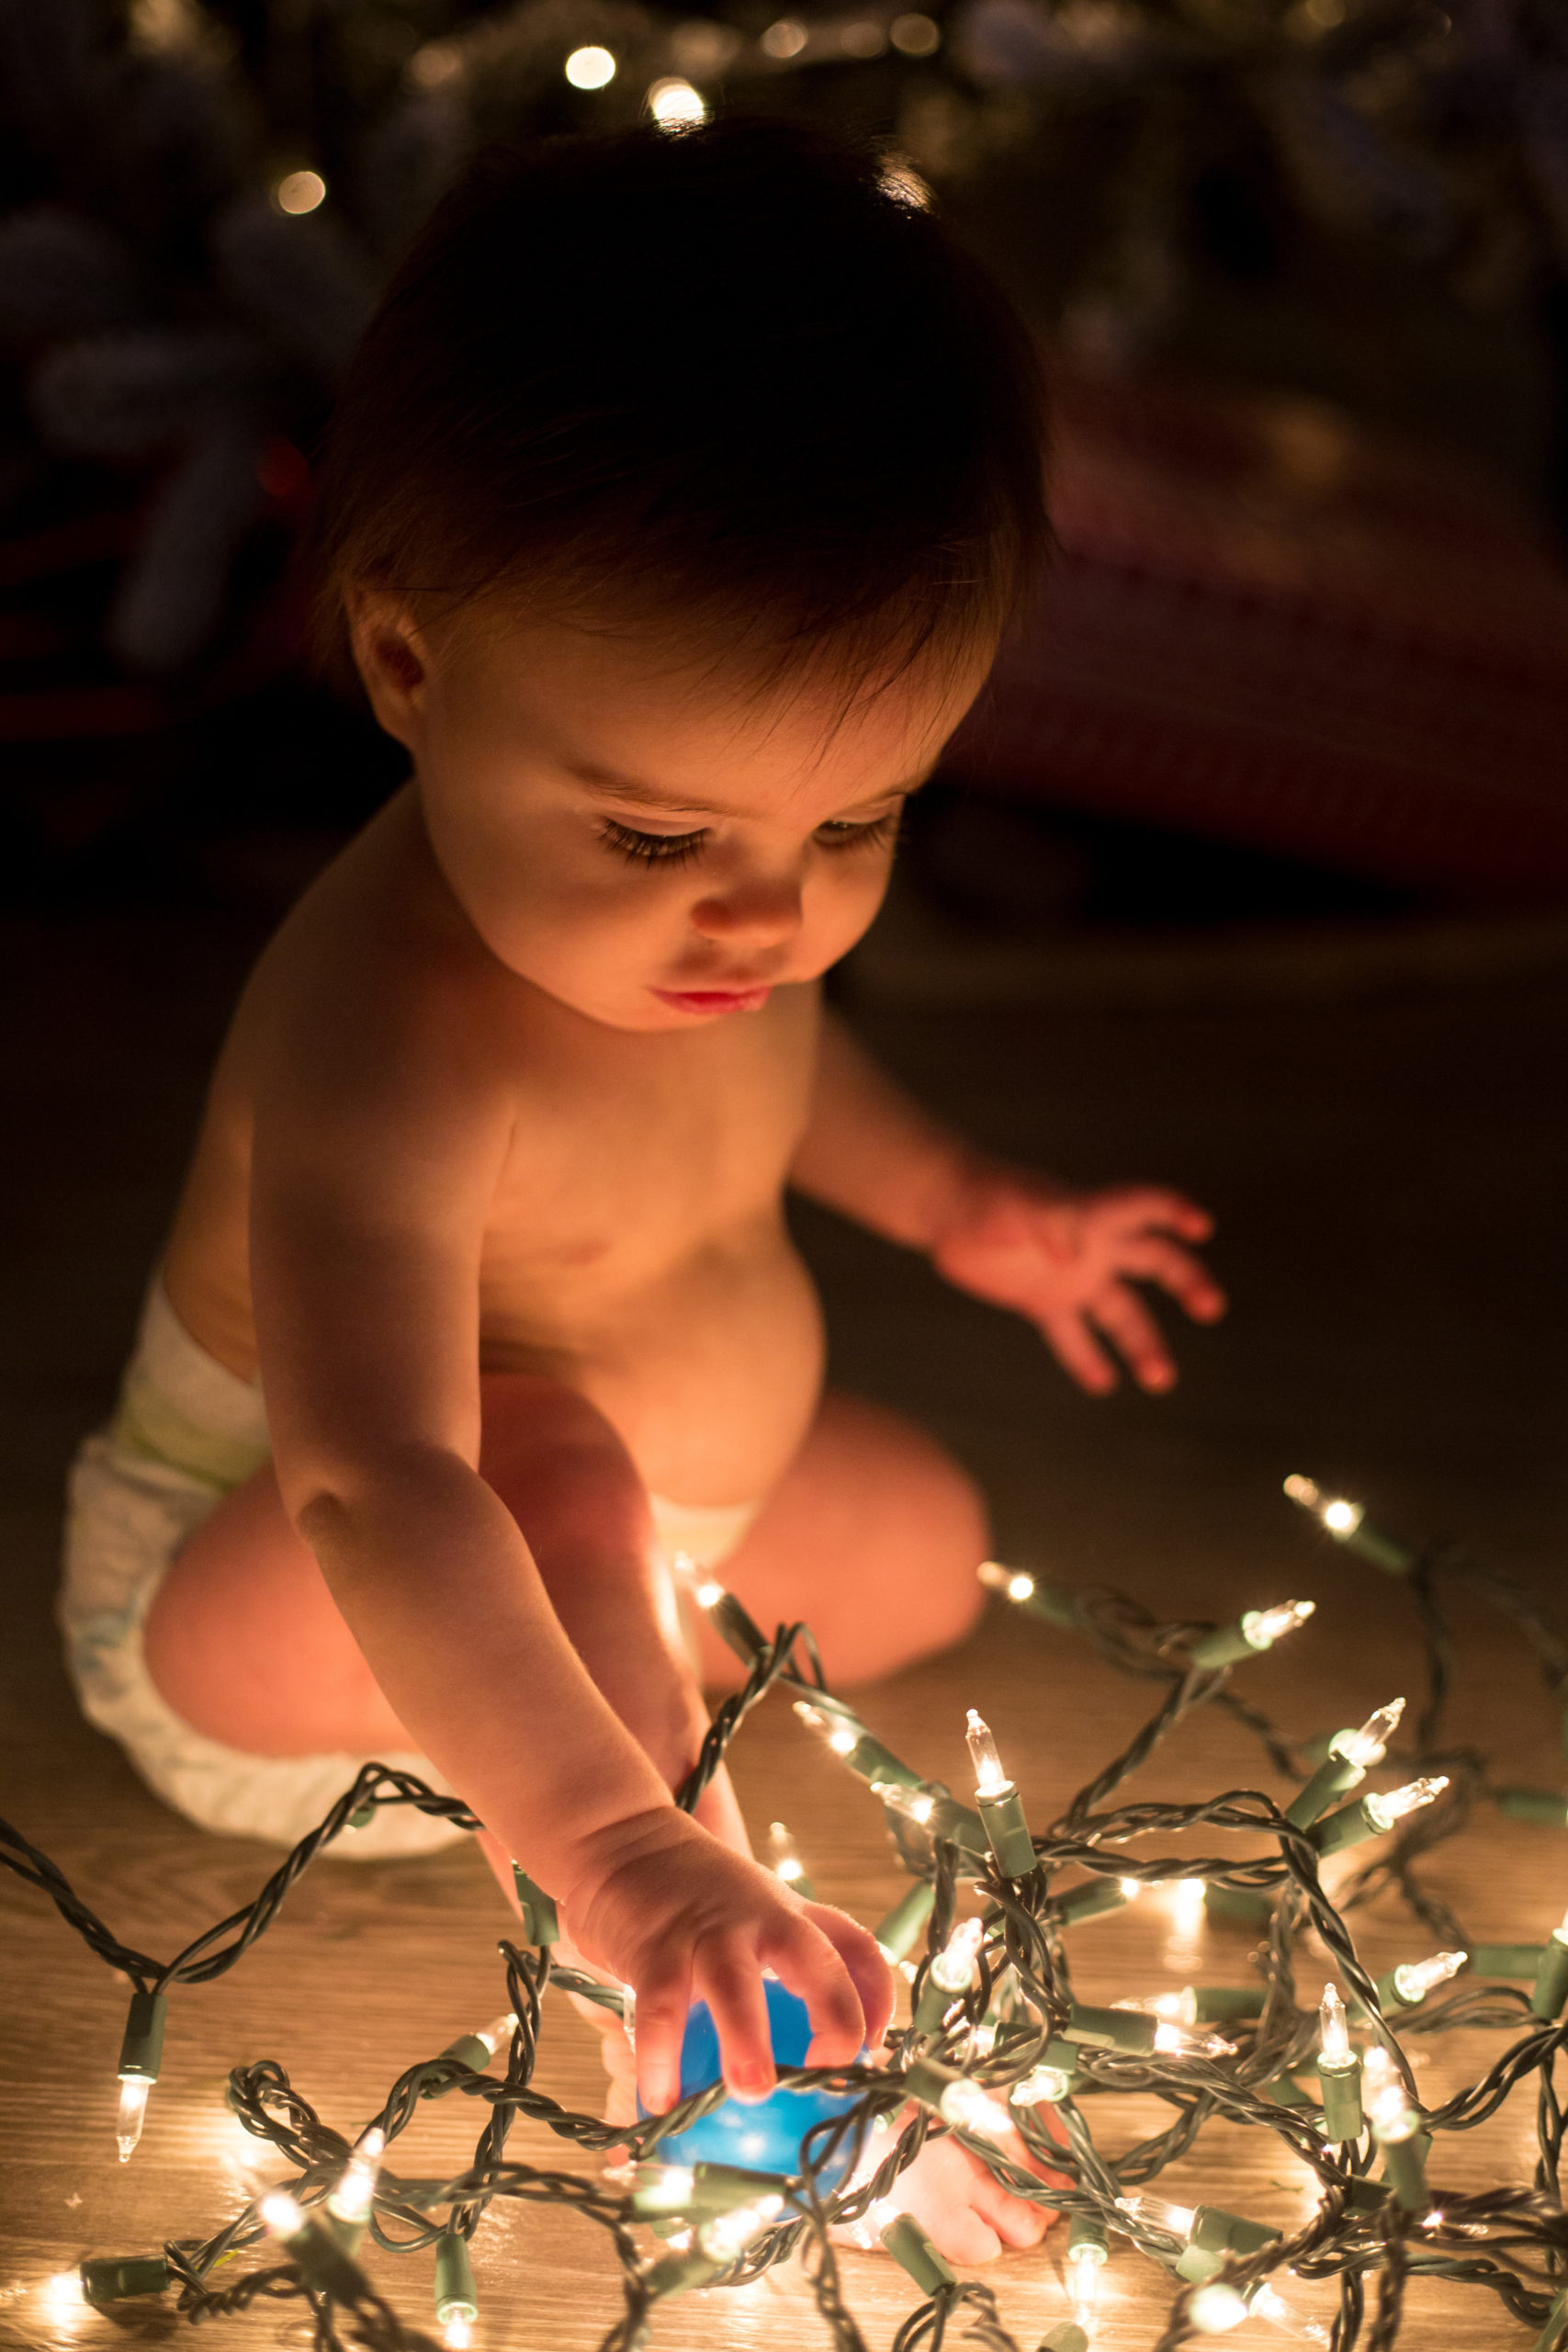
He wasn't really into grabbing the lights, so I hid a ball under them for him to search for. That worked like a charm!
Snap Away!
Now for the fun part! Snap away and capture that sweet Christmas wonder! If you need ideas of shots to get, try these:
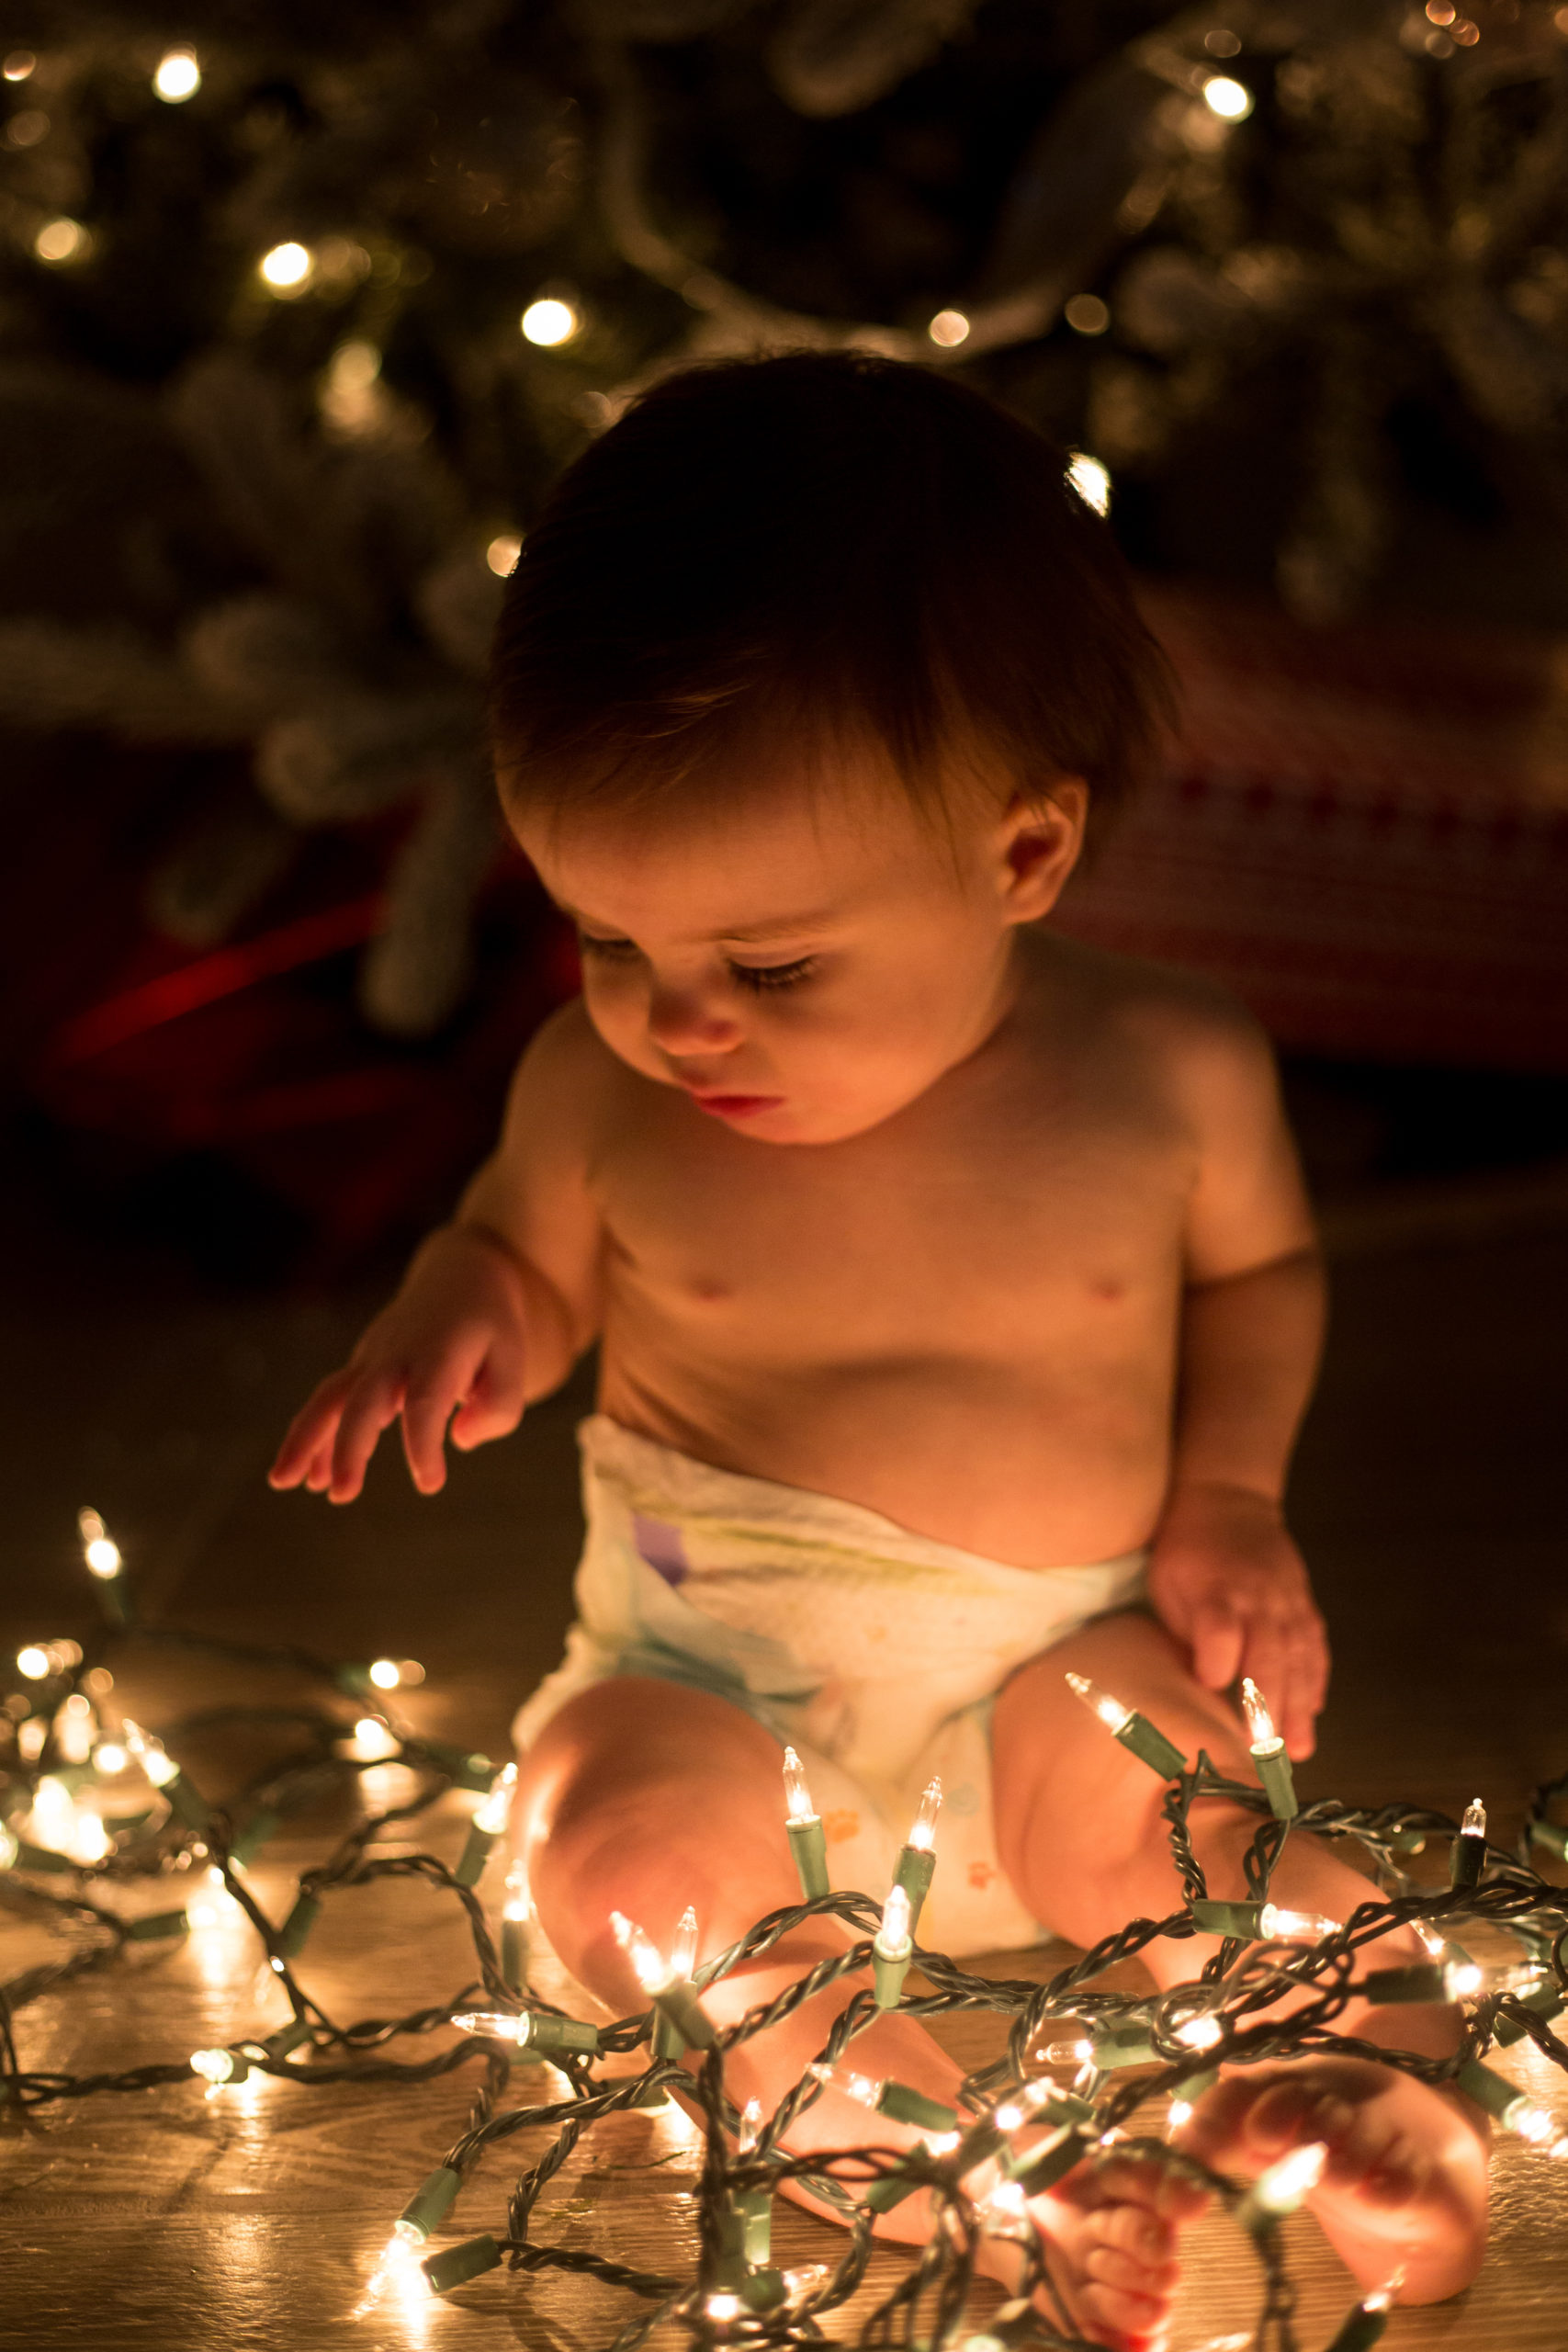
- A wide shot of your baby holding the Christmas lights and looking at them
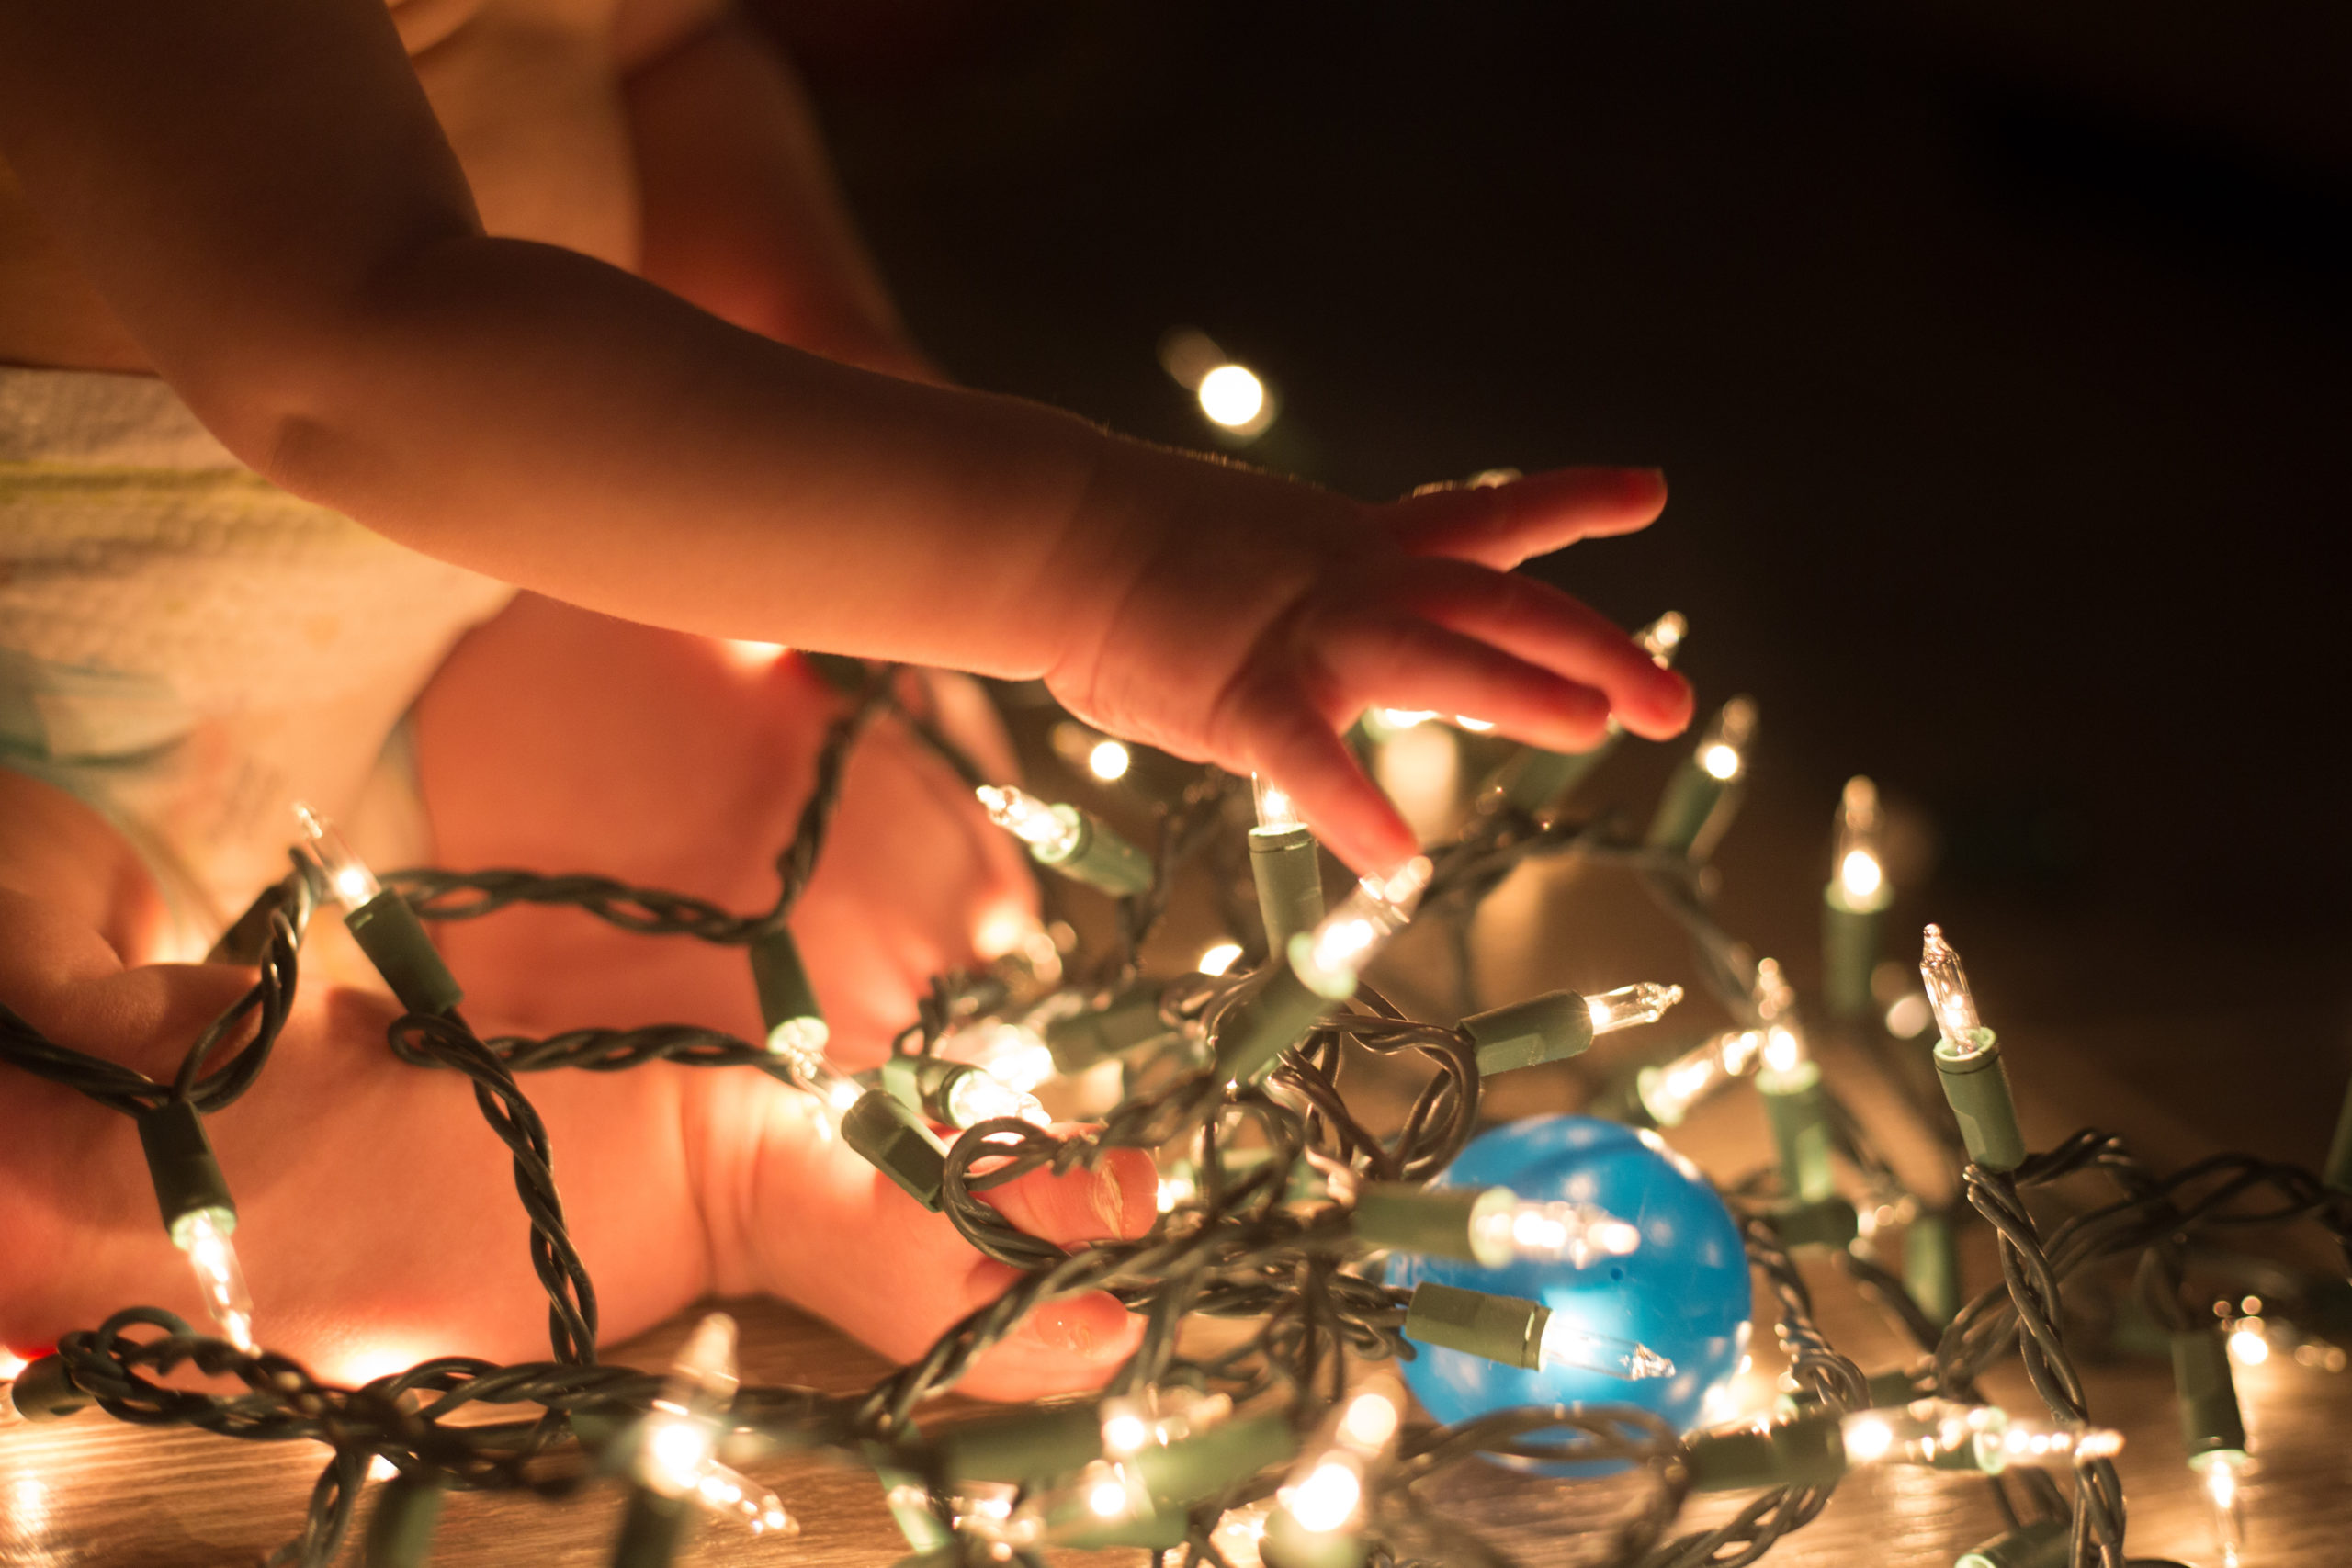
- A close-up shot of your baby's hand holding the strand of lights
- A shot of your baby's back to you as they look at the tree or the lights
- Baby fee with the lights!
- A sweet shot of baby on their belly surrounded by the lights
- Baby reaching for an ornament
Editing
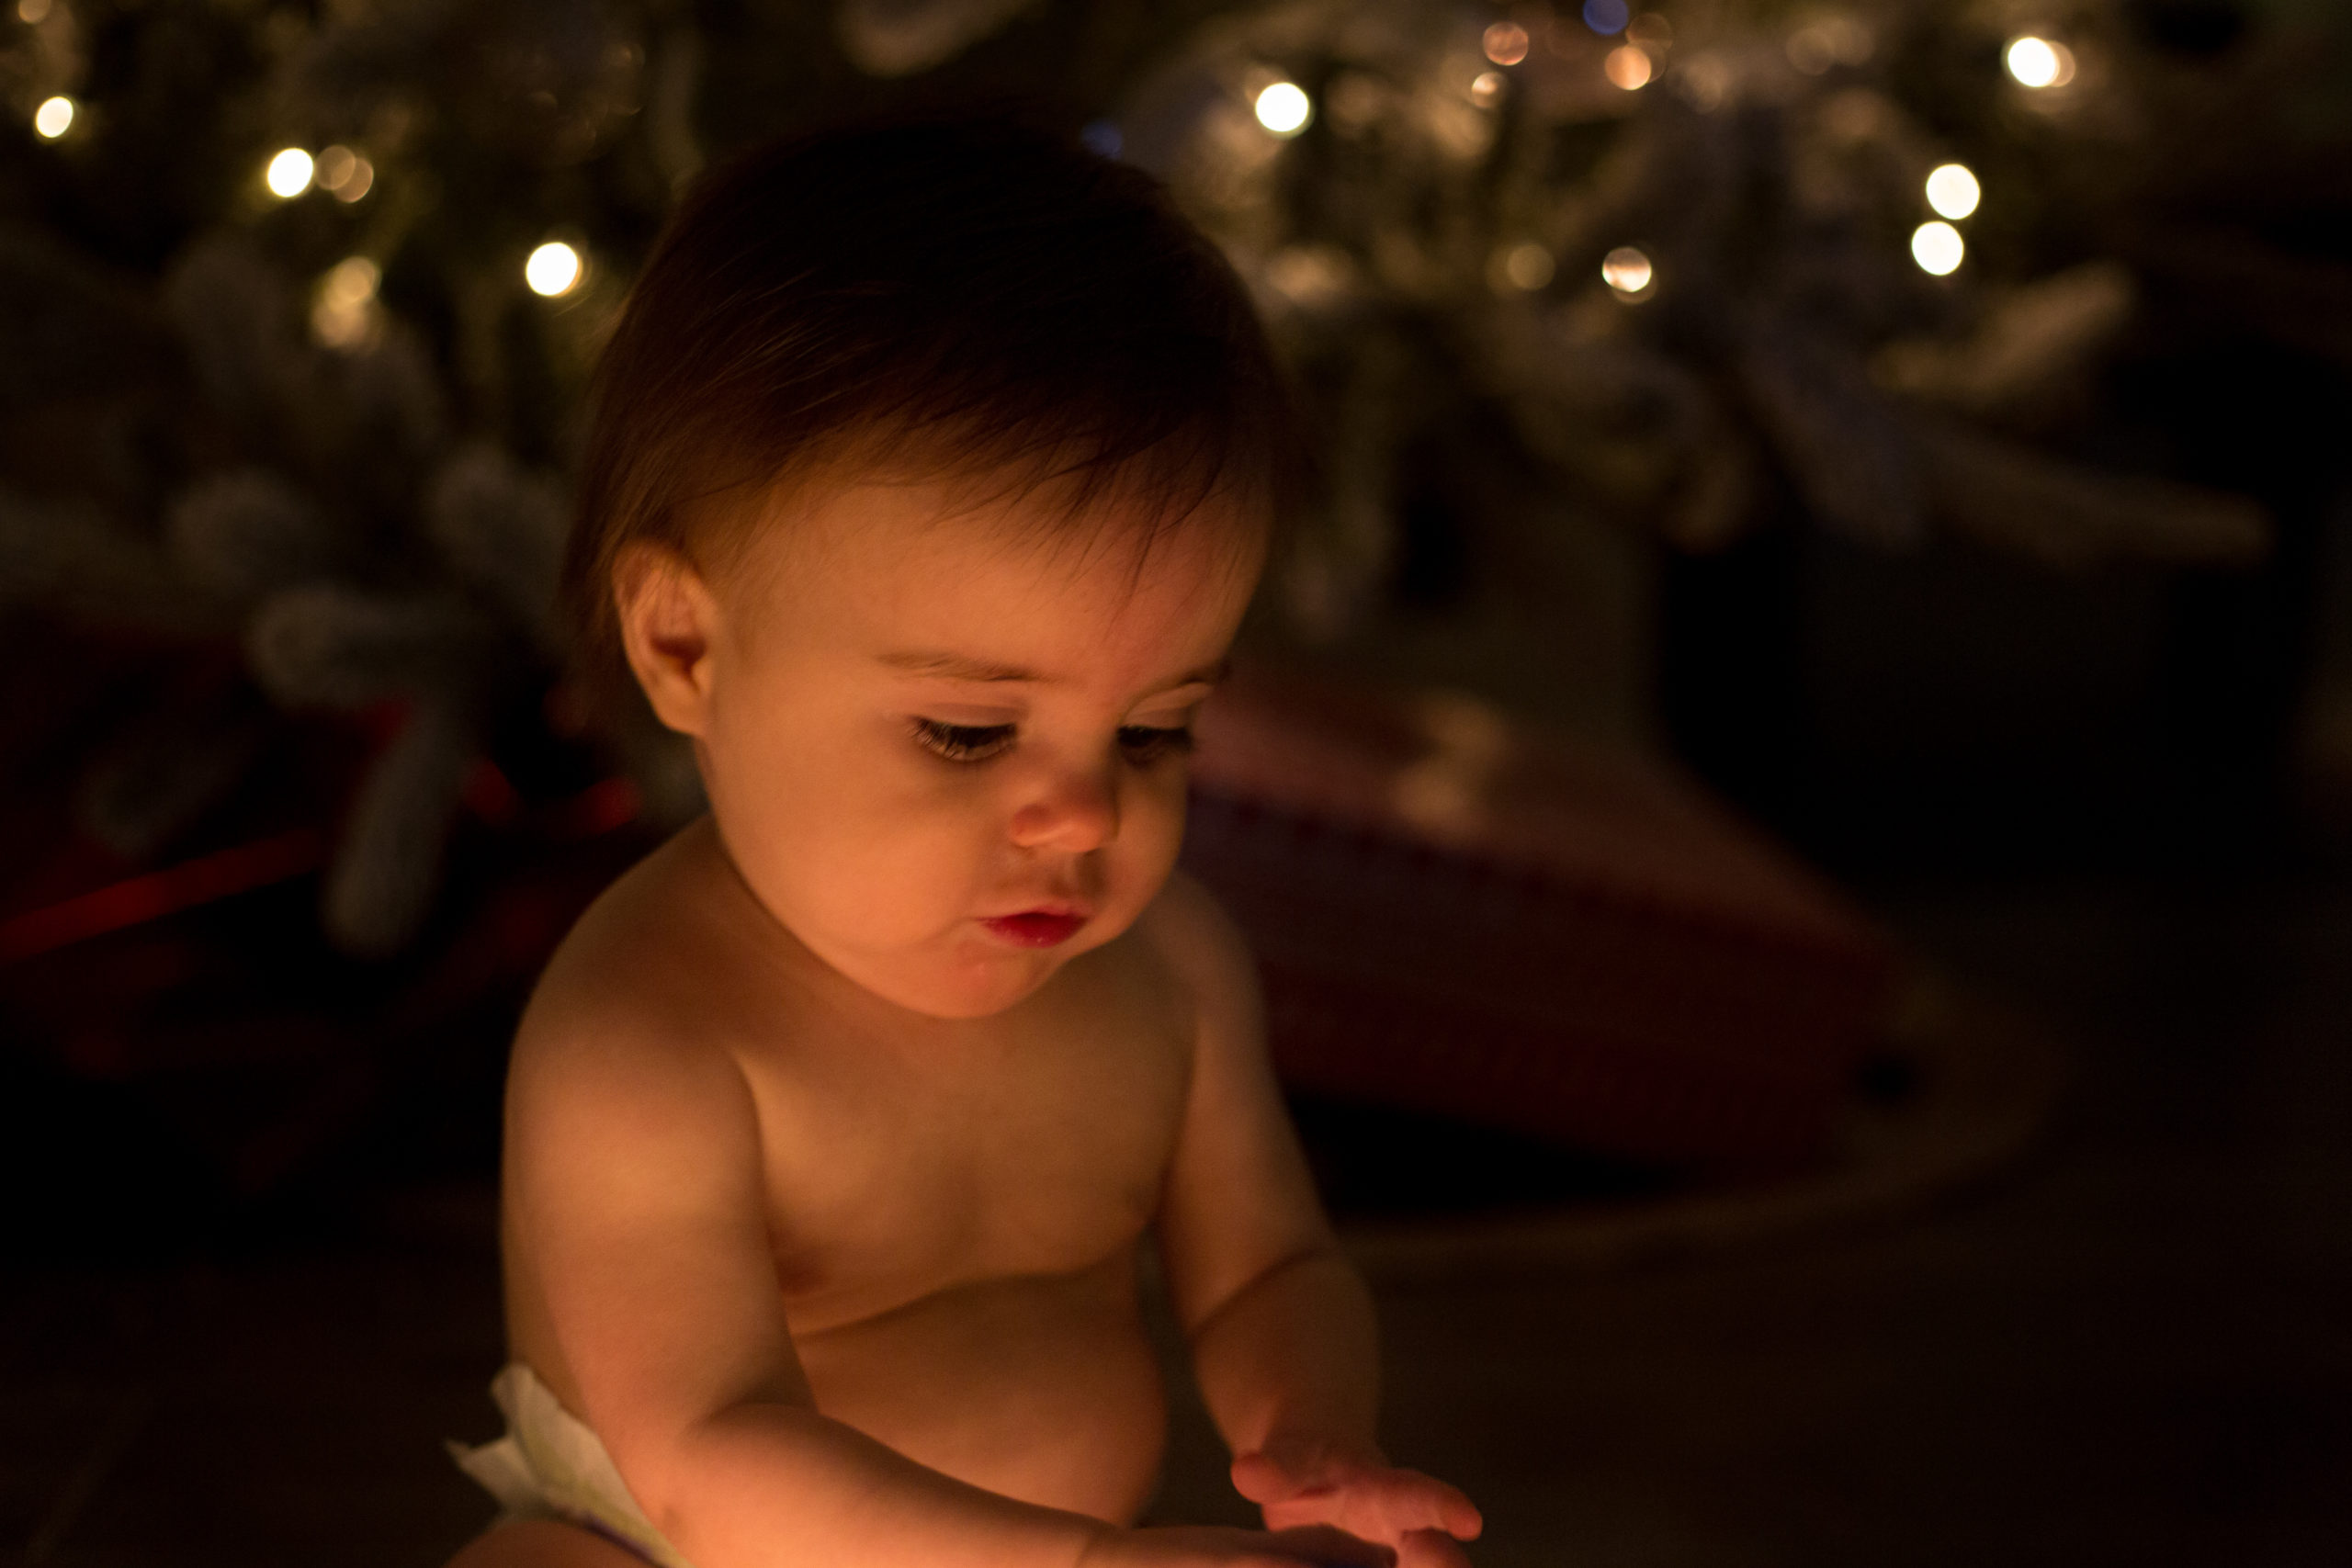
When I brought my photos into Lightroom, I made a few minor adjustments. I brushed in some exposure on his face and used a brush to darken the area behind him. I also brought down the blacks a little bit to add some contrast without messing with my highlights, and I added in a little noise reduction to help with the grain.
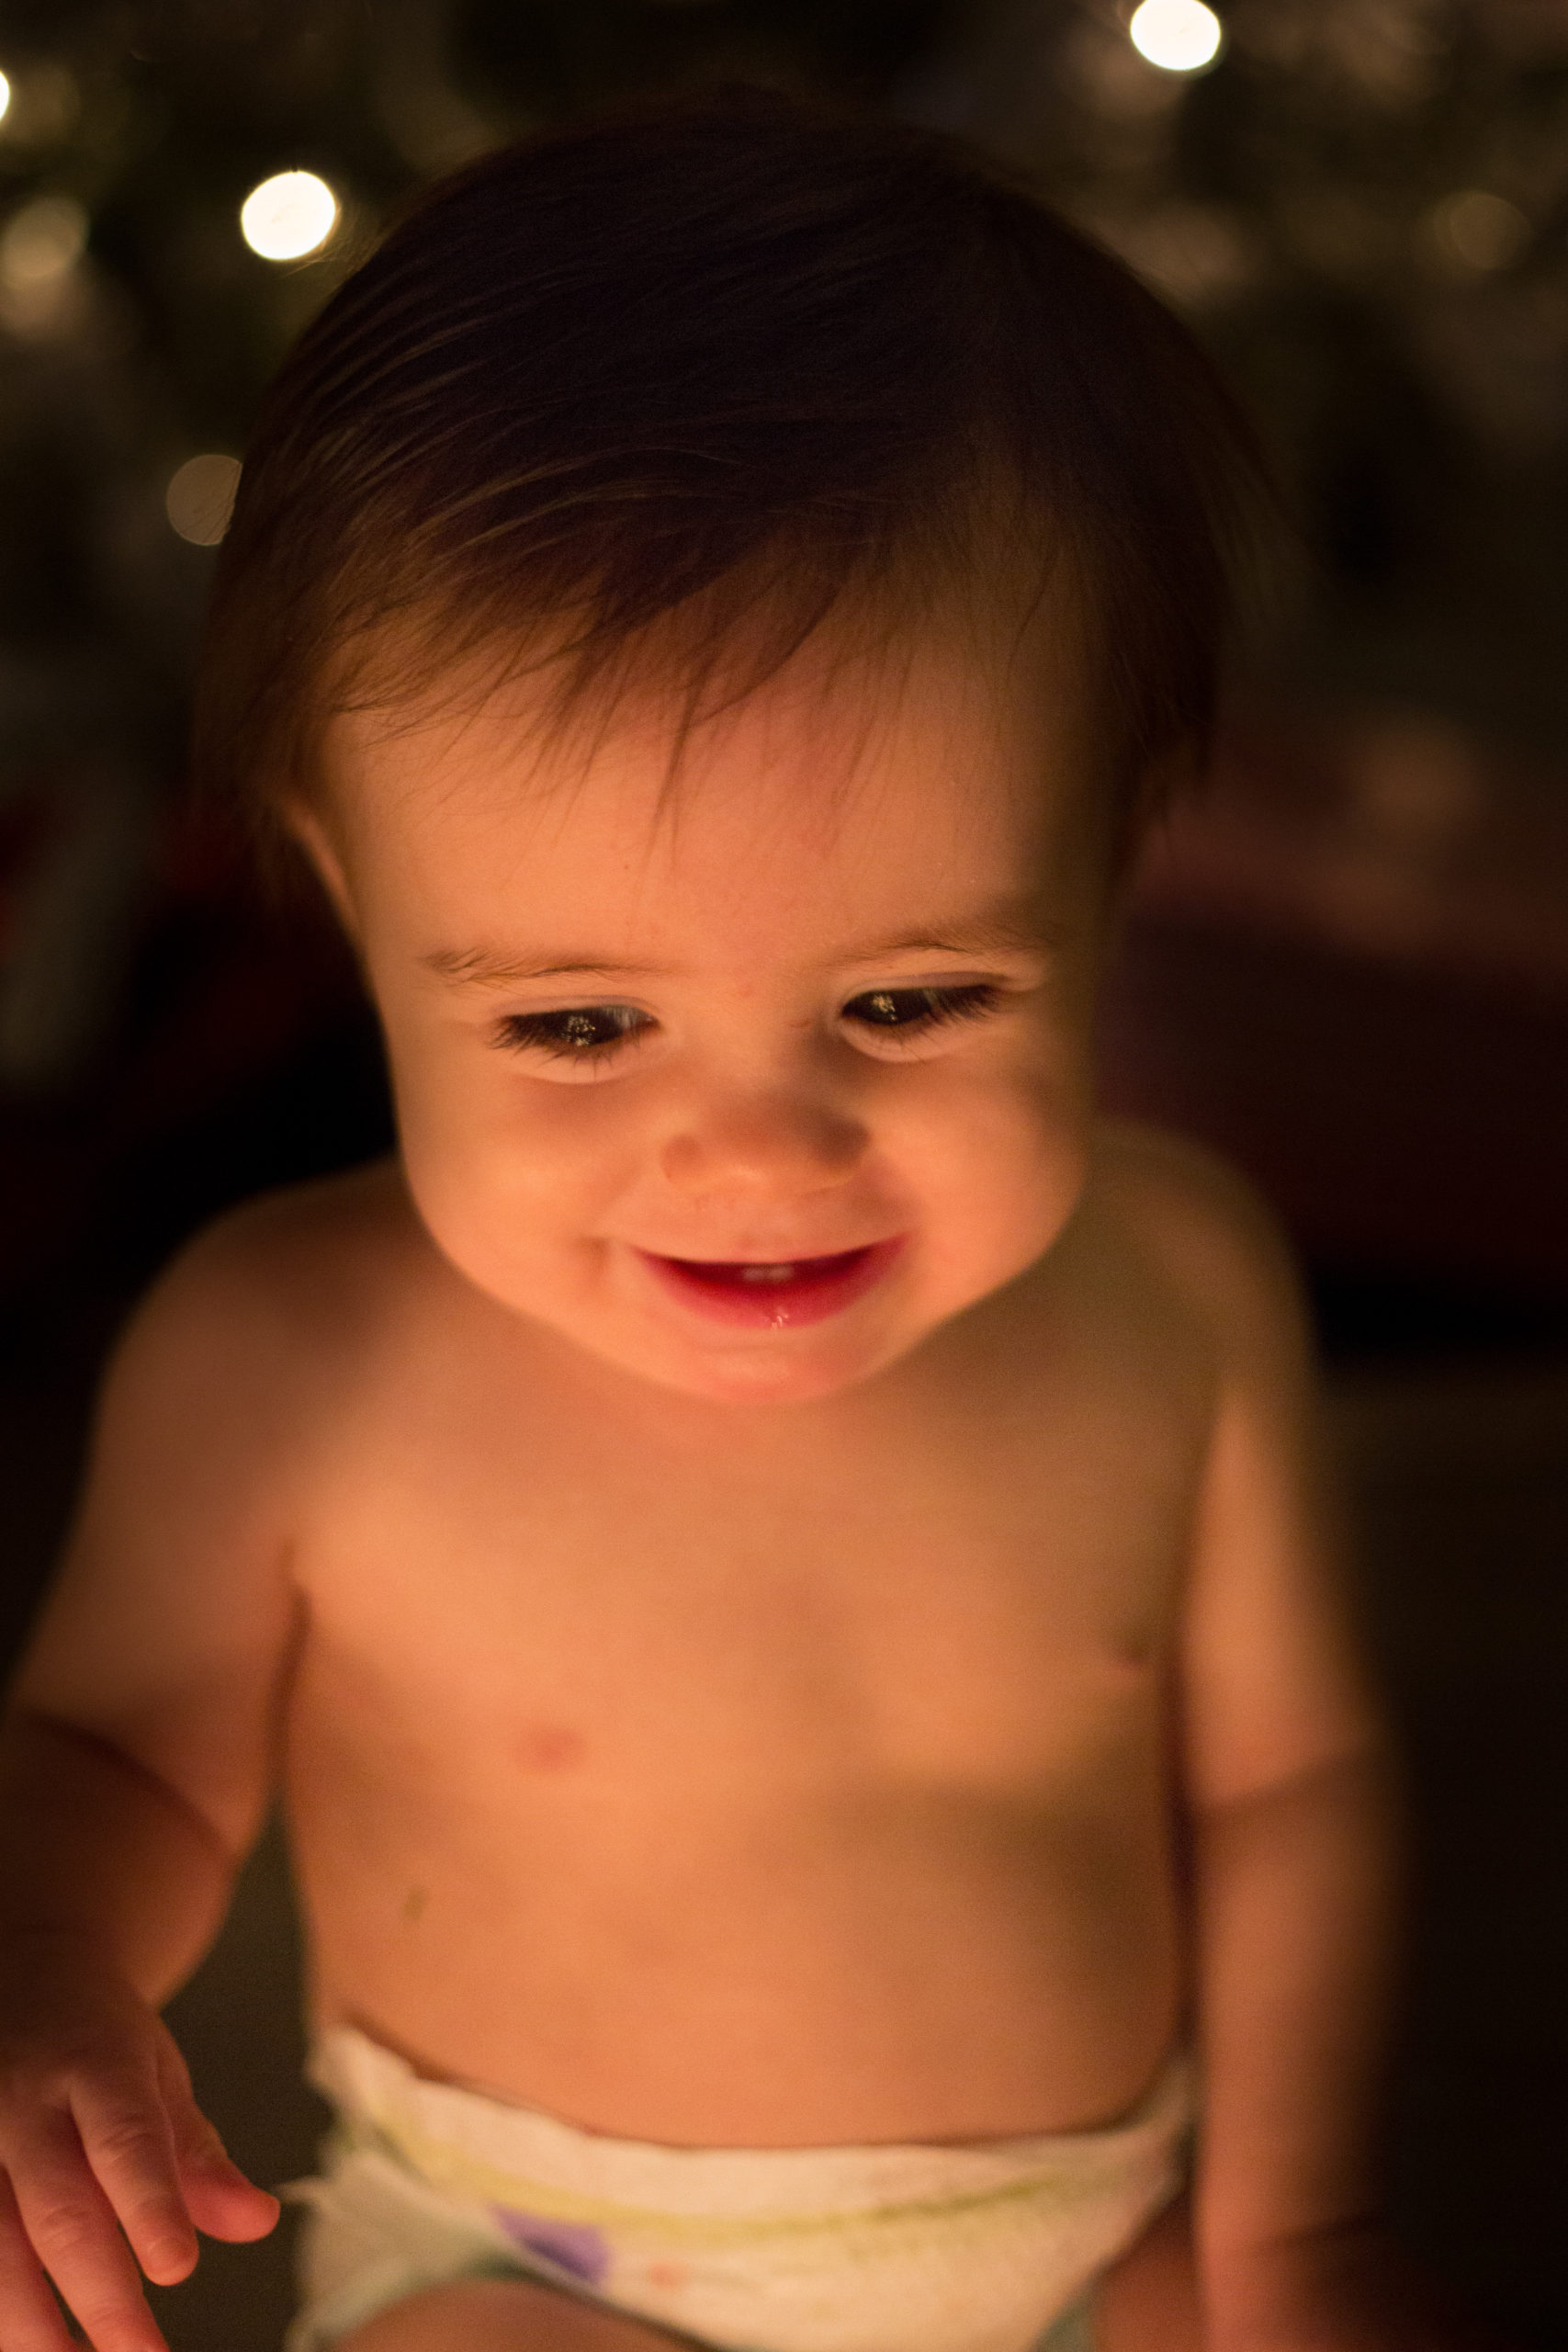
Here are some highlights from our little session!
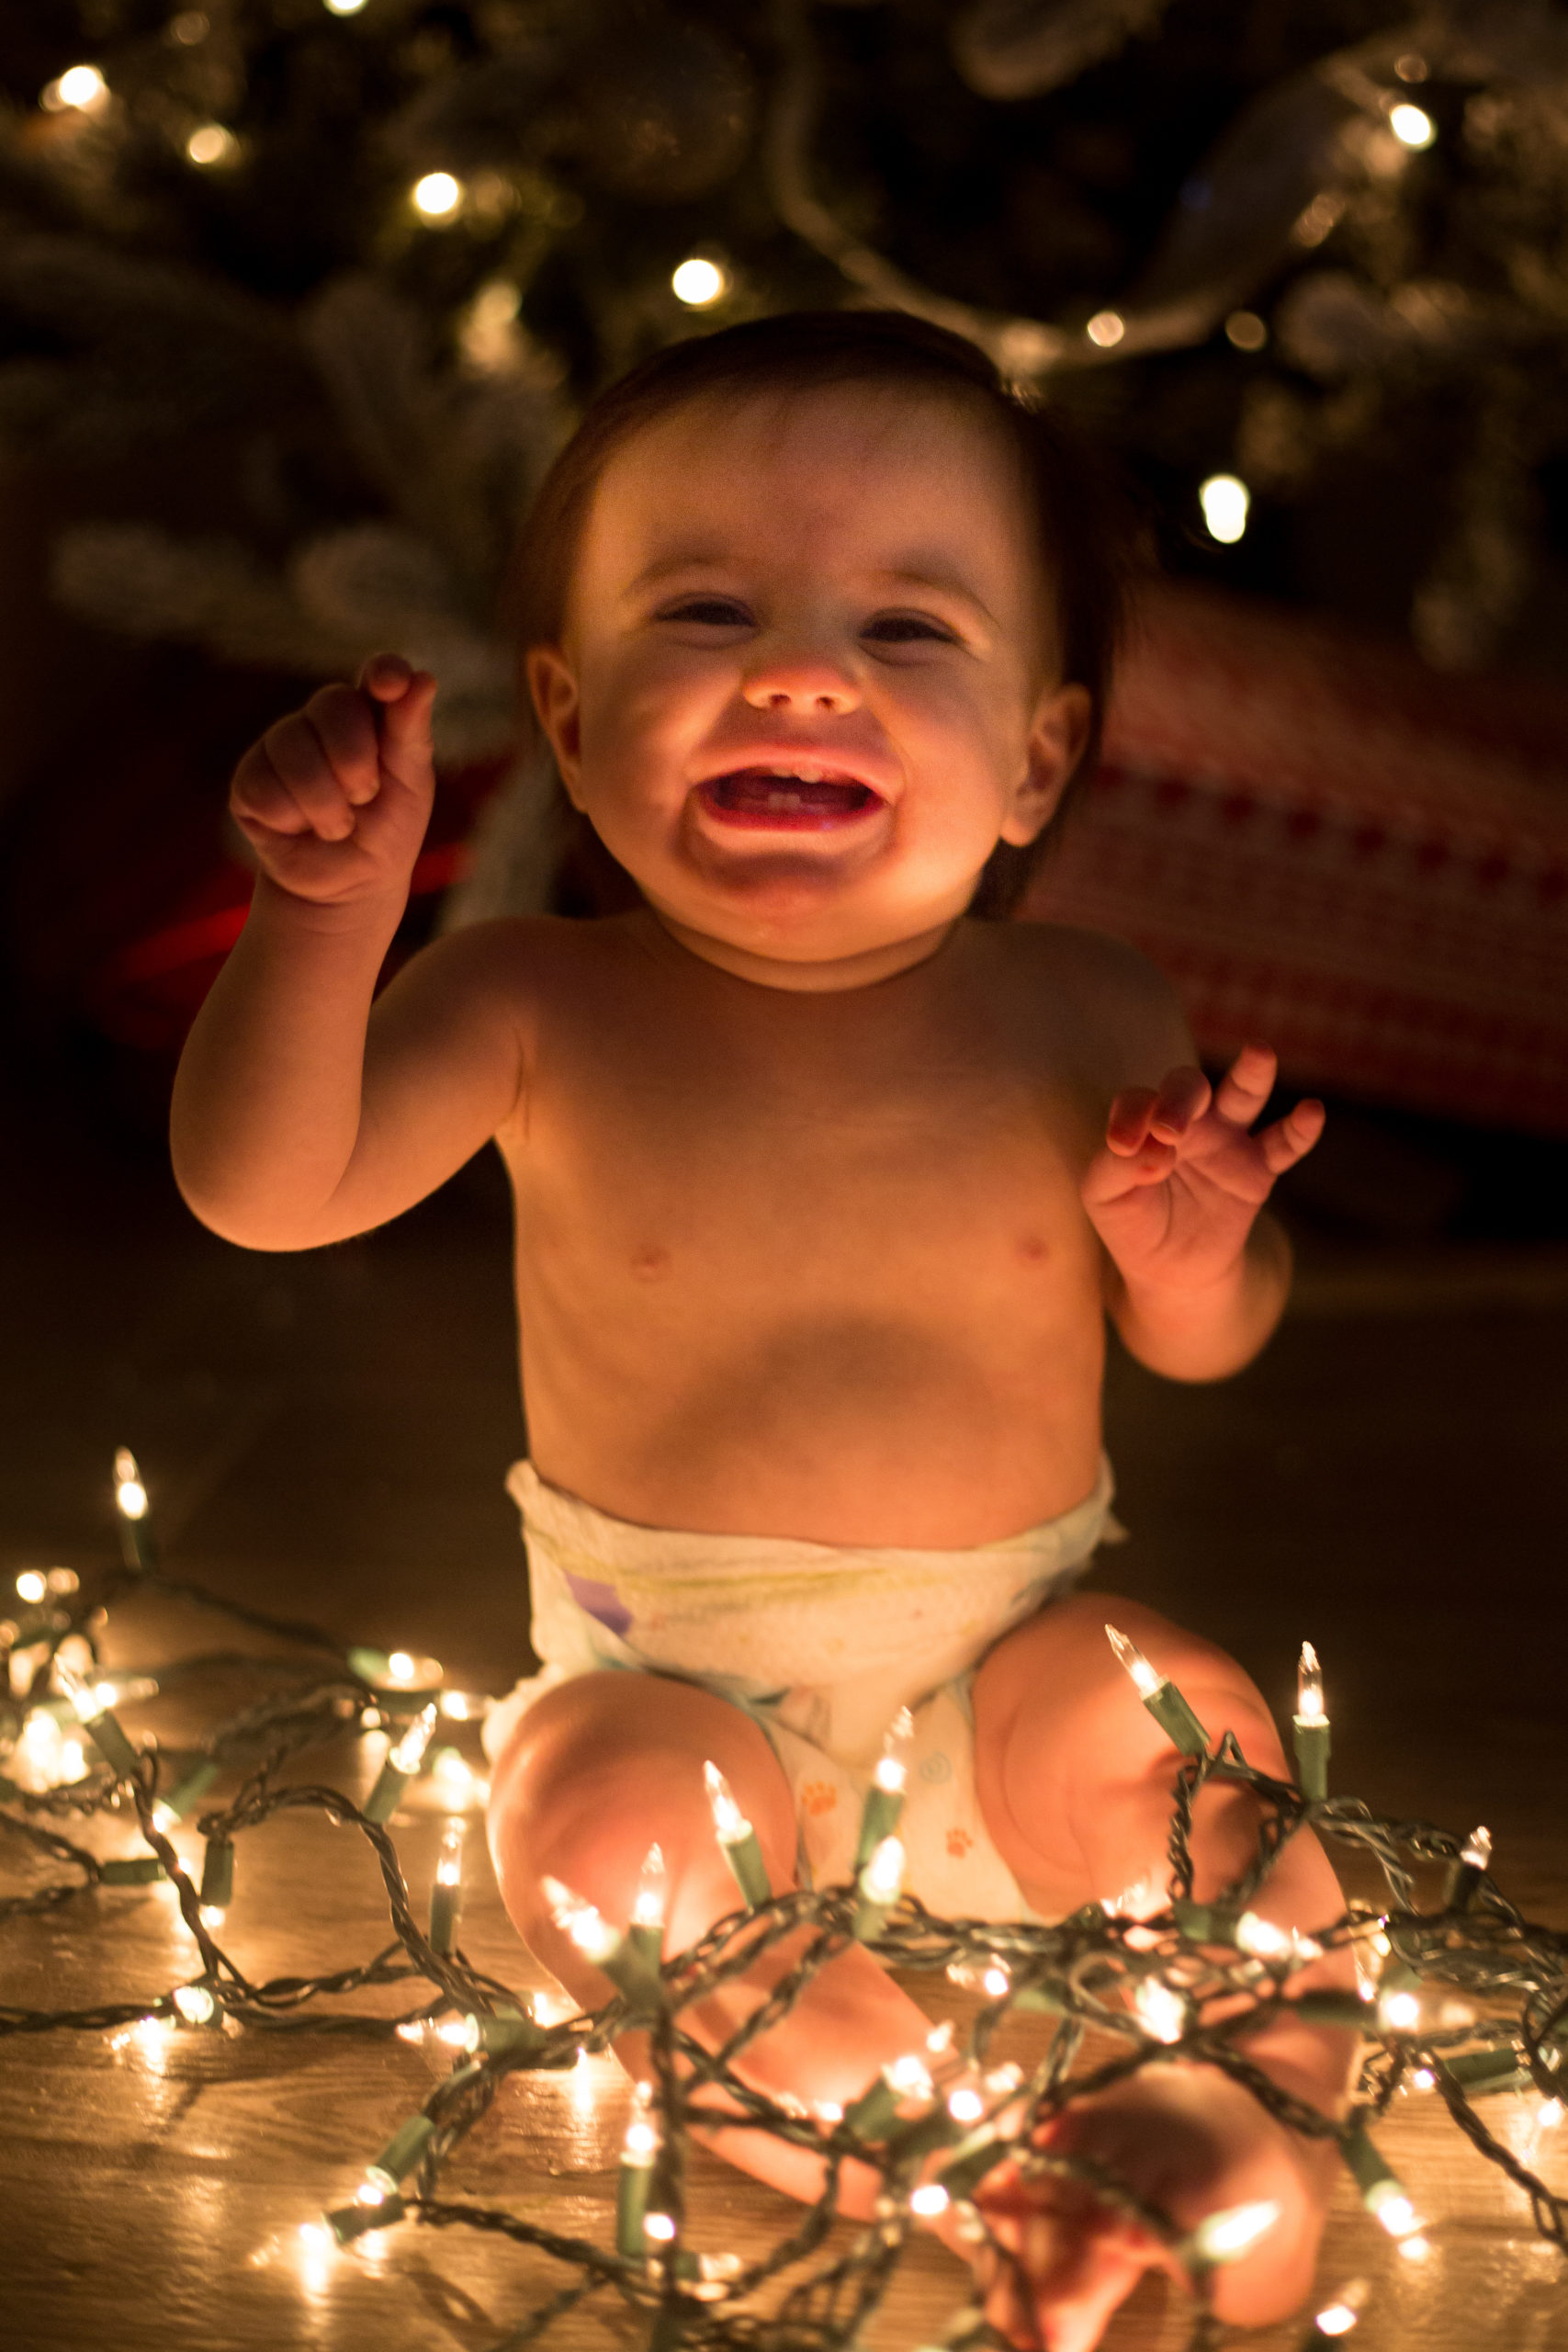
(This one was a little blurry (above), but that smile was too cute not to include. Remember that it's ok if your shots aren't always perfect. It's capturing memories that's important!!)

Now it's your turn! Feel free to share some of your shots with me!
Post them on your Instagram Story and tag me so I'll see them! @rebeccaricephotography
Want to see more photography tips and tricks? Head to our Mom-Photography Facebook Group to get feedback and encouragement from other Mom-Photographers!
not sure where to begin?
here's a great place to start
Get practical business advice (did we mention, *free?*) every week to help you grow a thriving, profitable photography business! From behind-the-scenes editing tips, to posing and marketing - here are some of our most popular posts!


behind the lens
our *behind-the-scenes* membership program
Behind the Lens is our BRAND NEW MEMBERSHIP program geared towards family photographers! Each month our members receive a behind-the-scenes video of me shooting a REAL family session. As a bonus, I also include an EXCLUSIVE MASTERCLASS each month teaching on business topics I don't teach anywhere else! As our MOST AFFORDABLE, value-packed educational resource in our shop, it's a no-brainer for anyone looking to level up their family photography game! Join me every month behind the lens.
be my virtual shadow and learn while you watch me shoot real family sessions!
give me access!

")


