

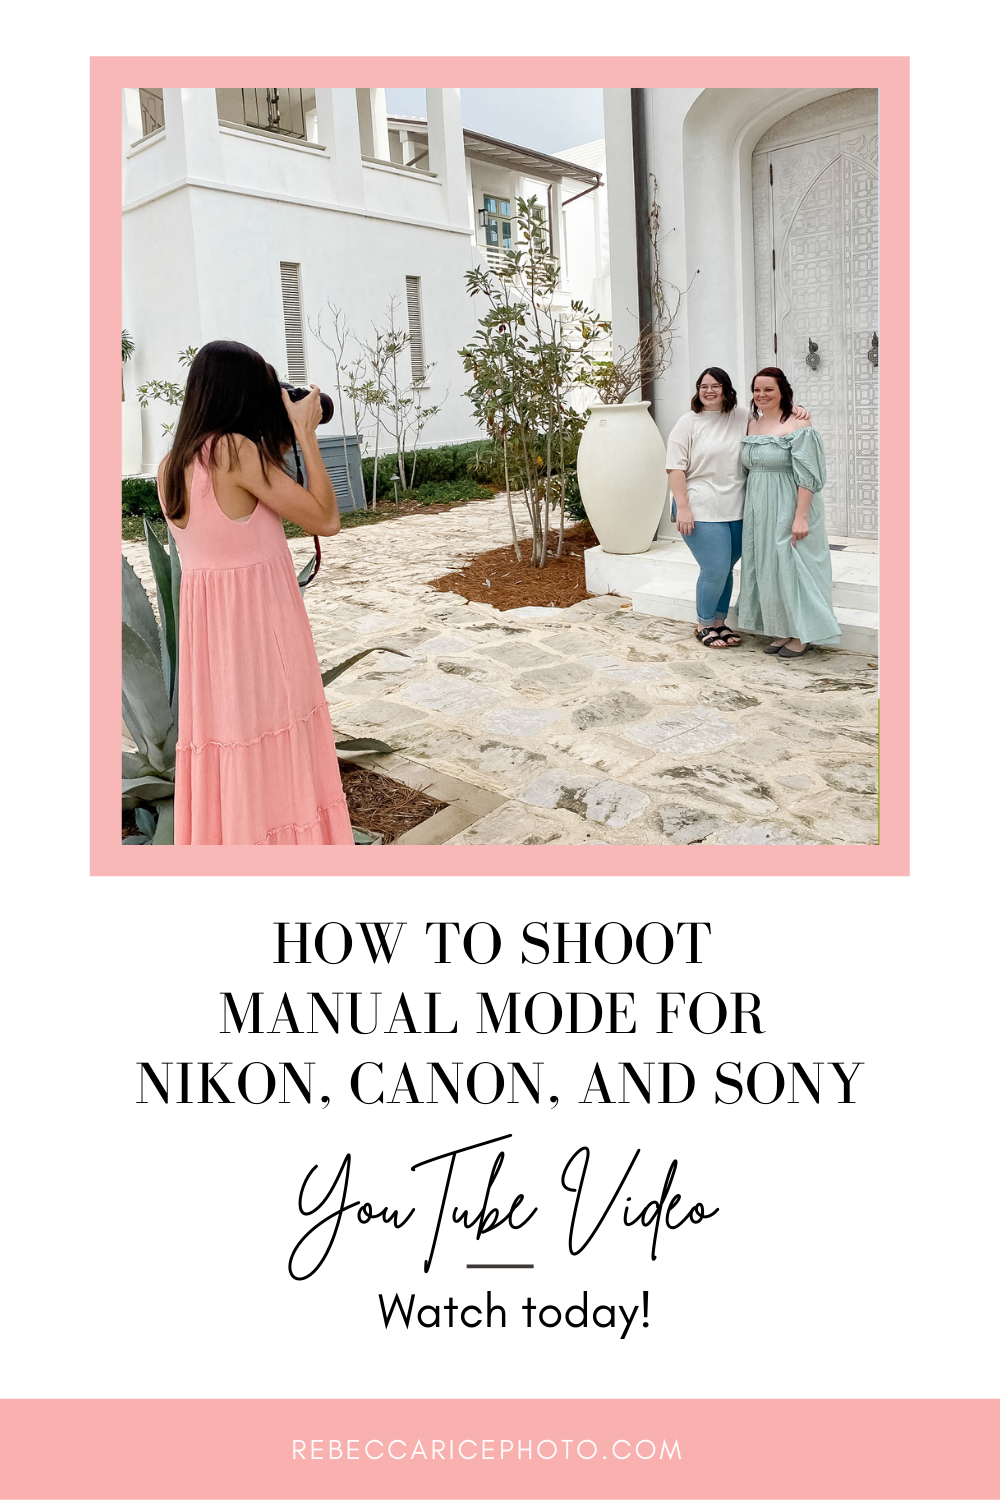
Although shooting in manual mode can be complex with all the settings involved it's worth learning how! Today I'll teach you how to take something that seems overwhelming and make it easy to grasp. You'll learn how to shoot manual mode with these easy steps.
But first, hop in this FREE class called 5 Steps to Launching Your Photography Side-Gig and find which steps will take you from a photography hobby to a photography business! There are no strings attached, just a free resource to help you get your passion off the ground.
Why is Shooting in Manual Mode Important?
The benefit from moving from automatic to manual mode is it gives you control! In automatic mode the camera takes info in through its sensors and makes an educated guess as to what the settings should be. This works sometimes, but it isn't as fine tuned as what your eyes see. Manual mode allows you to tell your camera what to do based off of your eyes. When setting up your camera based off of what you see and what you want there are 3 settings to look at. Aperture, ISO and Shutter Speed. Let's break these down…
Aperture
In other words this is your F stop. It's the letter F slash the number. This controls how blurry the background is in your photo. The higher your F stop number the less blurry the background and the darker your image will be. The reason for this is because the higher the number the less you're allowing in through your lens. Depending on the type of your lens often determines the sweet spot for you F stop. My favorite is my 85mm 1.4. This means it can go down to a 1.4, but I usually stay around 2.4-2.8 F stop! The more you shoot the more you find that sweet spot for your lens aperture. A few pointers related to this: the lower the aperture the smaller the focus area, the higher the aperture the larger the focus area.
ISO
ISO controls how much light is let into the lens. It's the number that's found in increments of a hundred. This plays a huge role in how bright your photos are. The lower your ISO the darker the photo. The higher the ISO the brighter your photo. I adjust this most often and when I need the biggest changes to my photos.
Shutter Speed
This one is more easy to remember because it makes sense. The higher the shutter speed the faster your camera clicks which means less light is let in. It makes sense right? When you snap fast it doesn't have as much time to let light into your photos. But the higher the speed the fast you can capture a photo. I use this often with toddlers or little ones. You can adjust this depending on your subject! The problem is if you have your shutter speed too slow you can be prone to blurry images. So it's a balancing act and you get better with practice.
Automatic Mode Problem
I've noticed the white balance gets off most times in automatic mode. White balance is the colors portrayed in the image you capture. This can be fixed in Lightroom or Photoshop but it's so much easier to get the colors right in camera while shooting! So for no other reason switch to manual mode for this setting! When setting this I'm specifically going to talk about Kelvin mode. To help you understand, the lower the numbers the cooler the tones and the higher the numbers the warmer the tones. Take a test shot and look, if it's really blue bump up that Kelvin number to warm it up a bit.
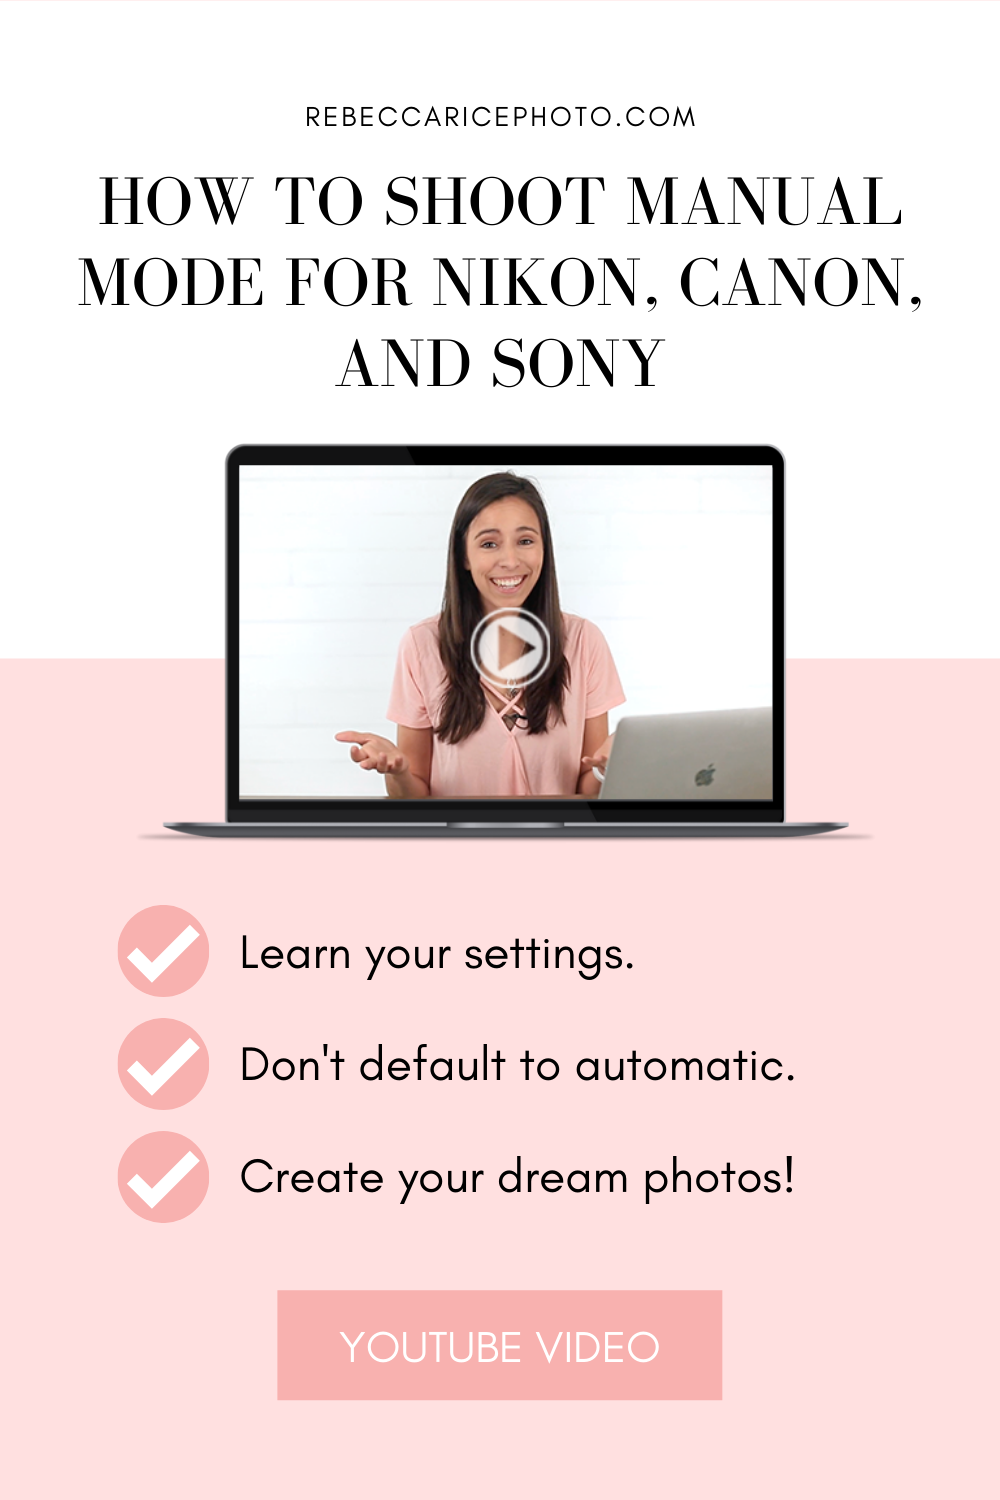
How to Shoot in Manual Mode Recap
I always take a tester shot and go through the settings in this order. First get the desired white balance, then set aperture, next ISO and finally the shutter speed. I take another tester shot and go from there! This is the order I use every time and it becomes a quick habit to get me to my desired photo. Enjoy the practice as you learn how to shoot in manual mode!
More Resources
+ 5 Steps to Launching Your Photography Side-Gig
+ Mom Photography 101: Shooting in Manual Mode

not sure where to begin?
here's a great place to start
Get practical business advice (did we mention, *free?*) every week to help you grow a thriving, profitable photography business! From behind-the-scenes editing tips, to posing and marketing - here are some of our most popular posts!


behind the lens
our *behind-the-scenes* membership program
Behind the Lens is our BRAND NEW MEMBERSHIP program geared towards family photographers! Each month our members receive a behind-the-scenes video of me shooting a REAL family session. As a bonus, I also include an EXCLUSIVE MASTERCLASS each month teaching on business topics I don't teach anywhere else! As our MOST AFFORDABLE, value-packed educational resource in our shop, it's a no-brainer for anyone looking to level up their family photography game! Join me every month behind the lens.
be my virtual shadow and learn while you watch me shoot real family sessions!
give me access!

")


